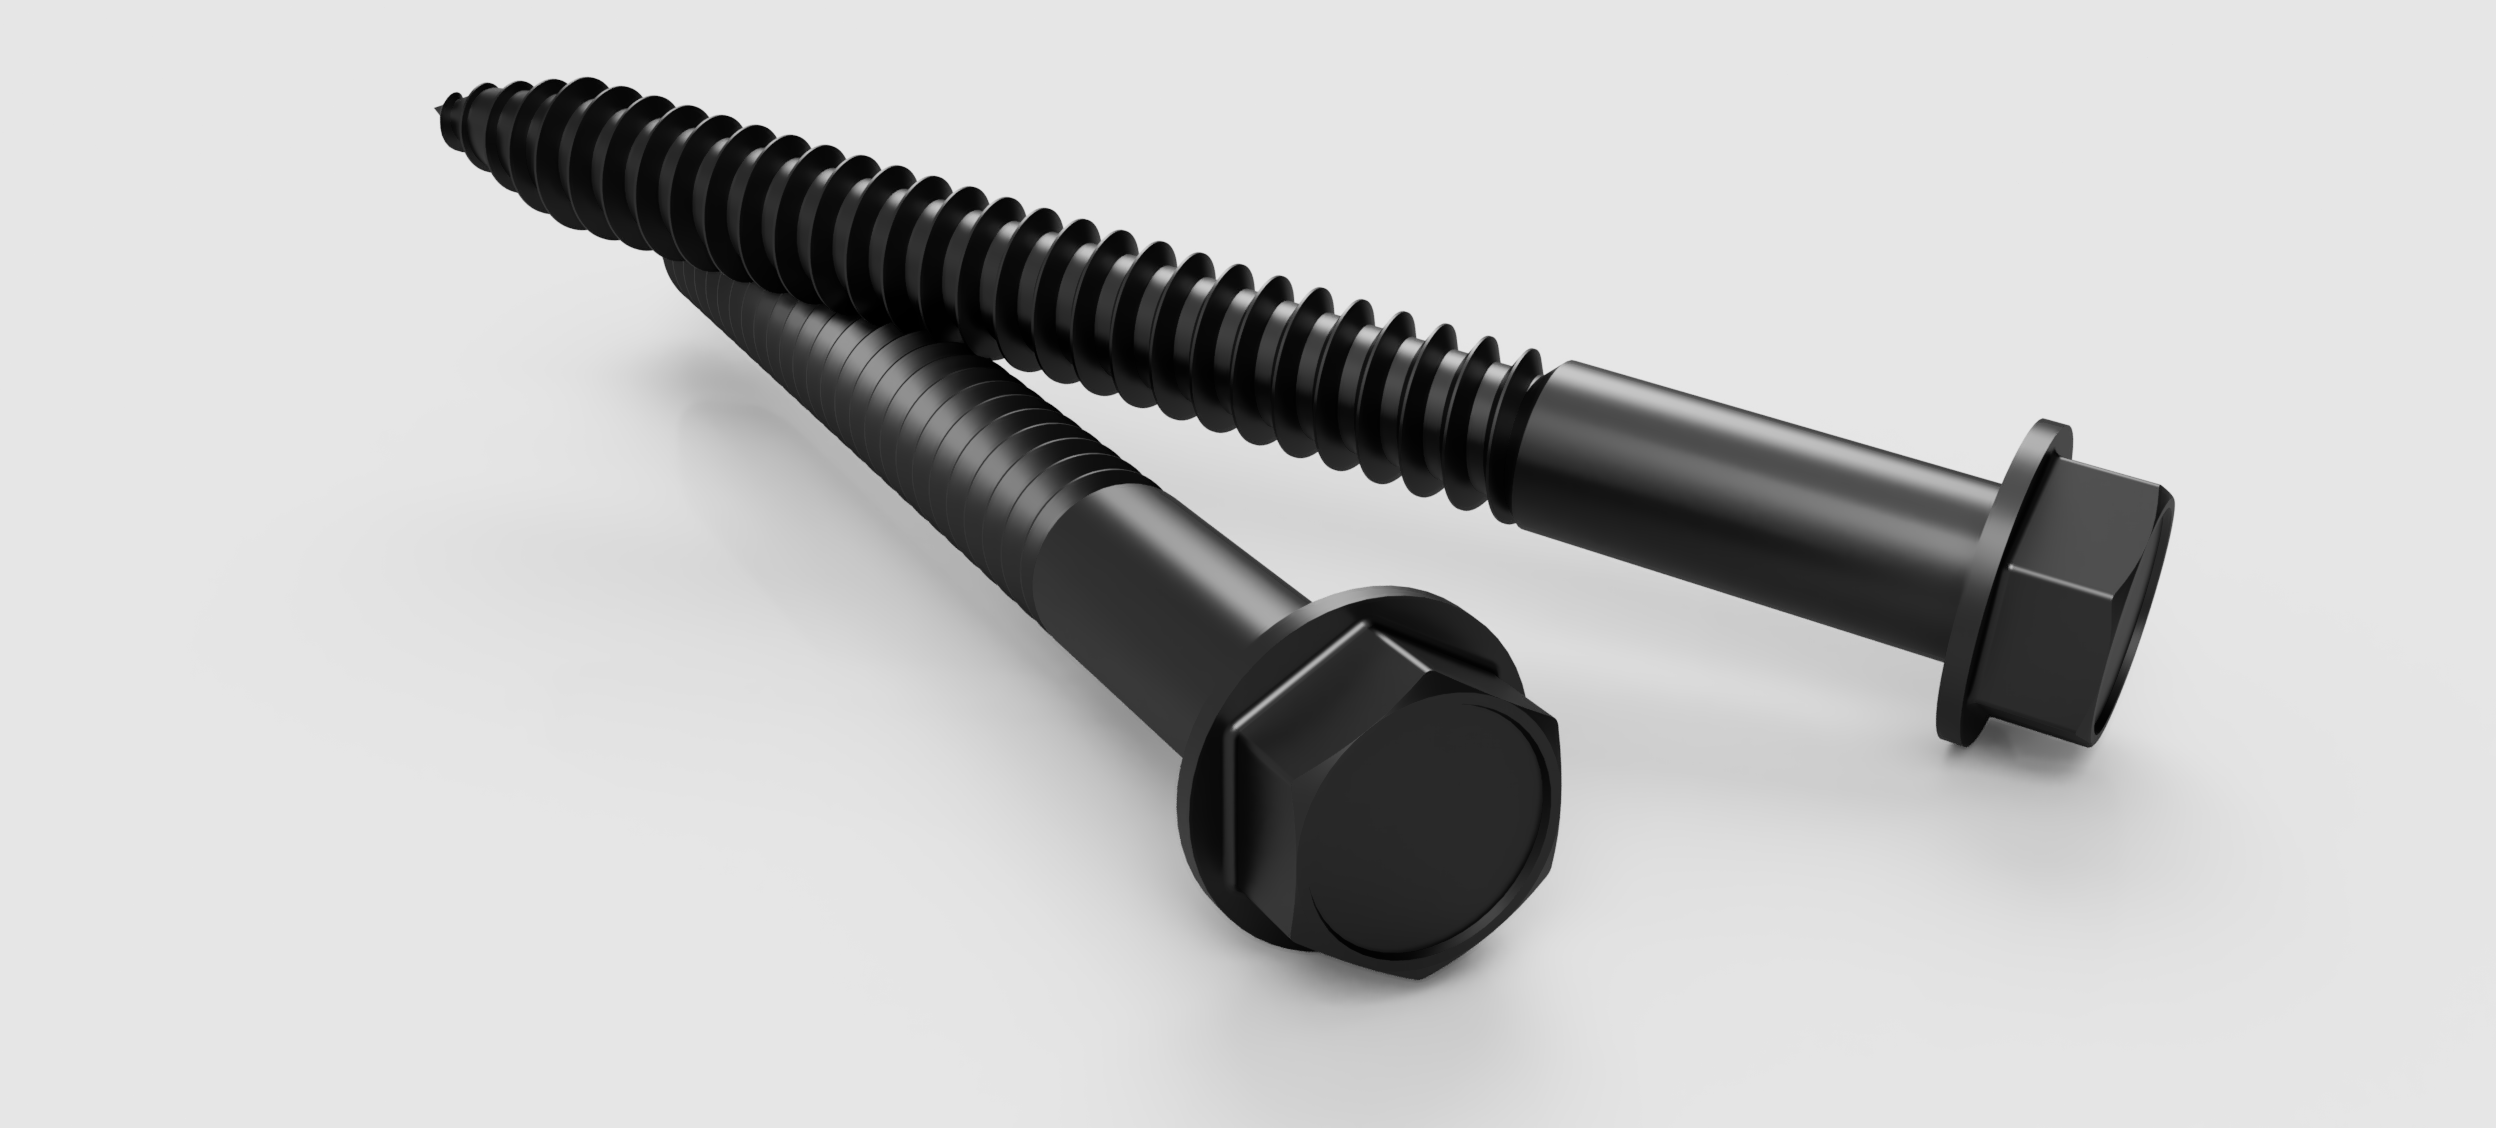
Lag Bolts
Installation Guide.
This quick walkthrough explains how to properly install BennettBuilt brackets using lag bolts directly into wood studs within a wall.
This is the strongest method of installation.
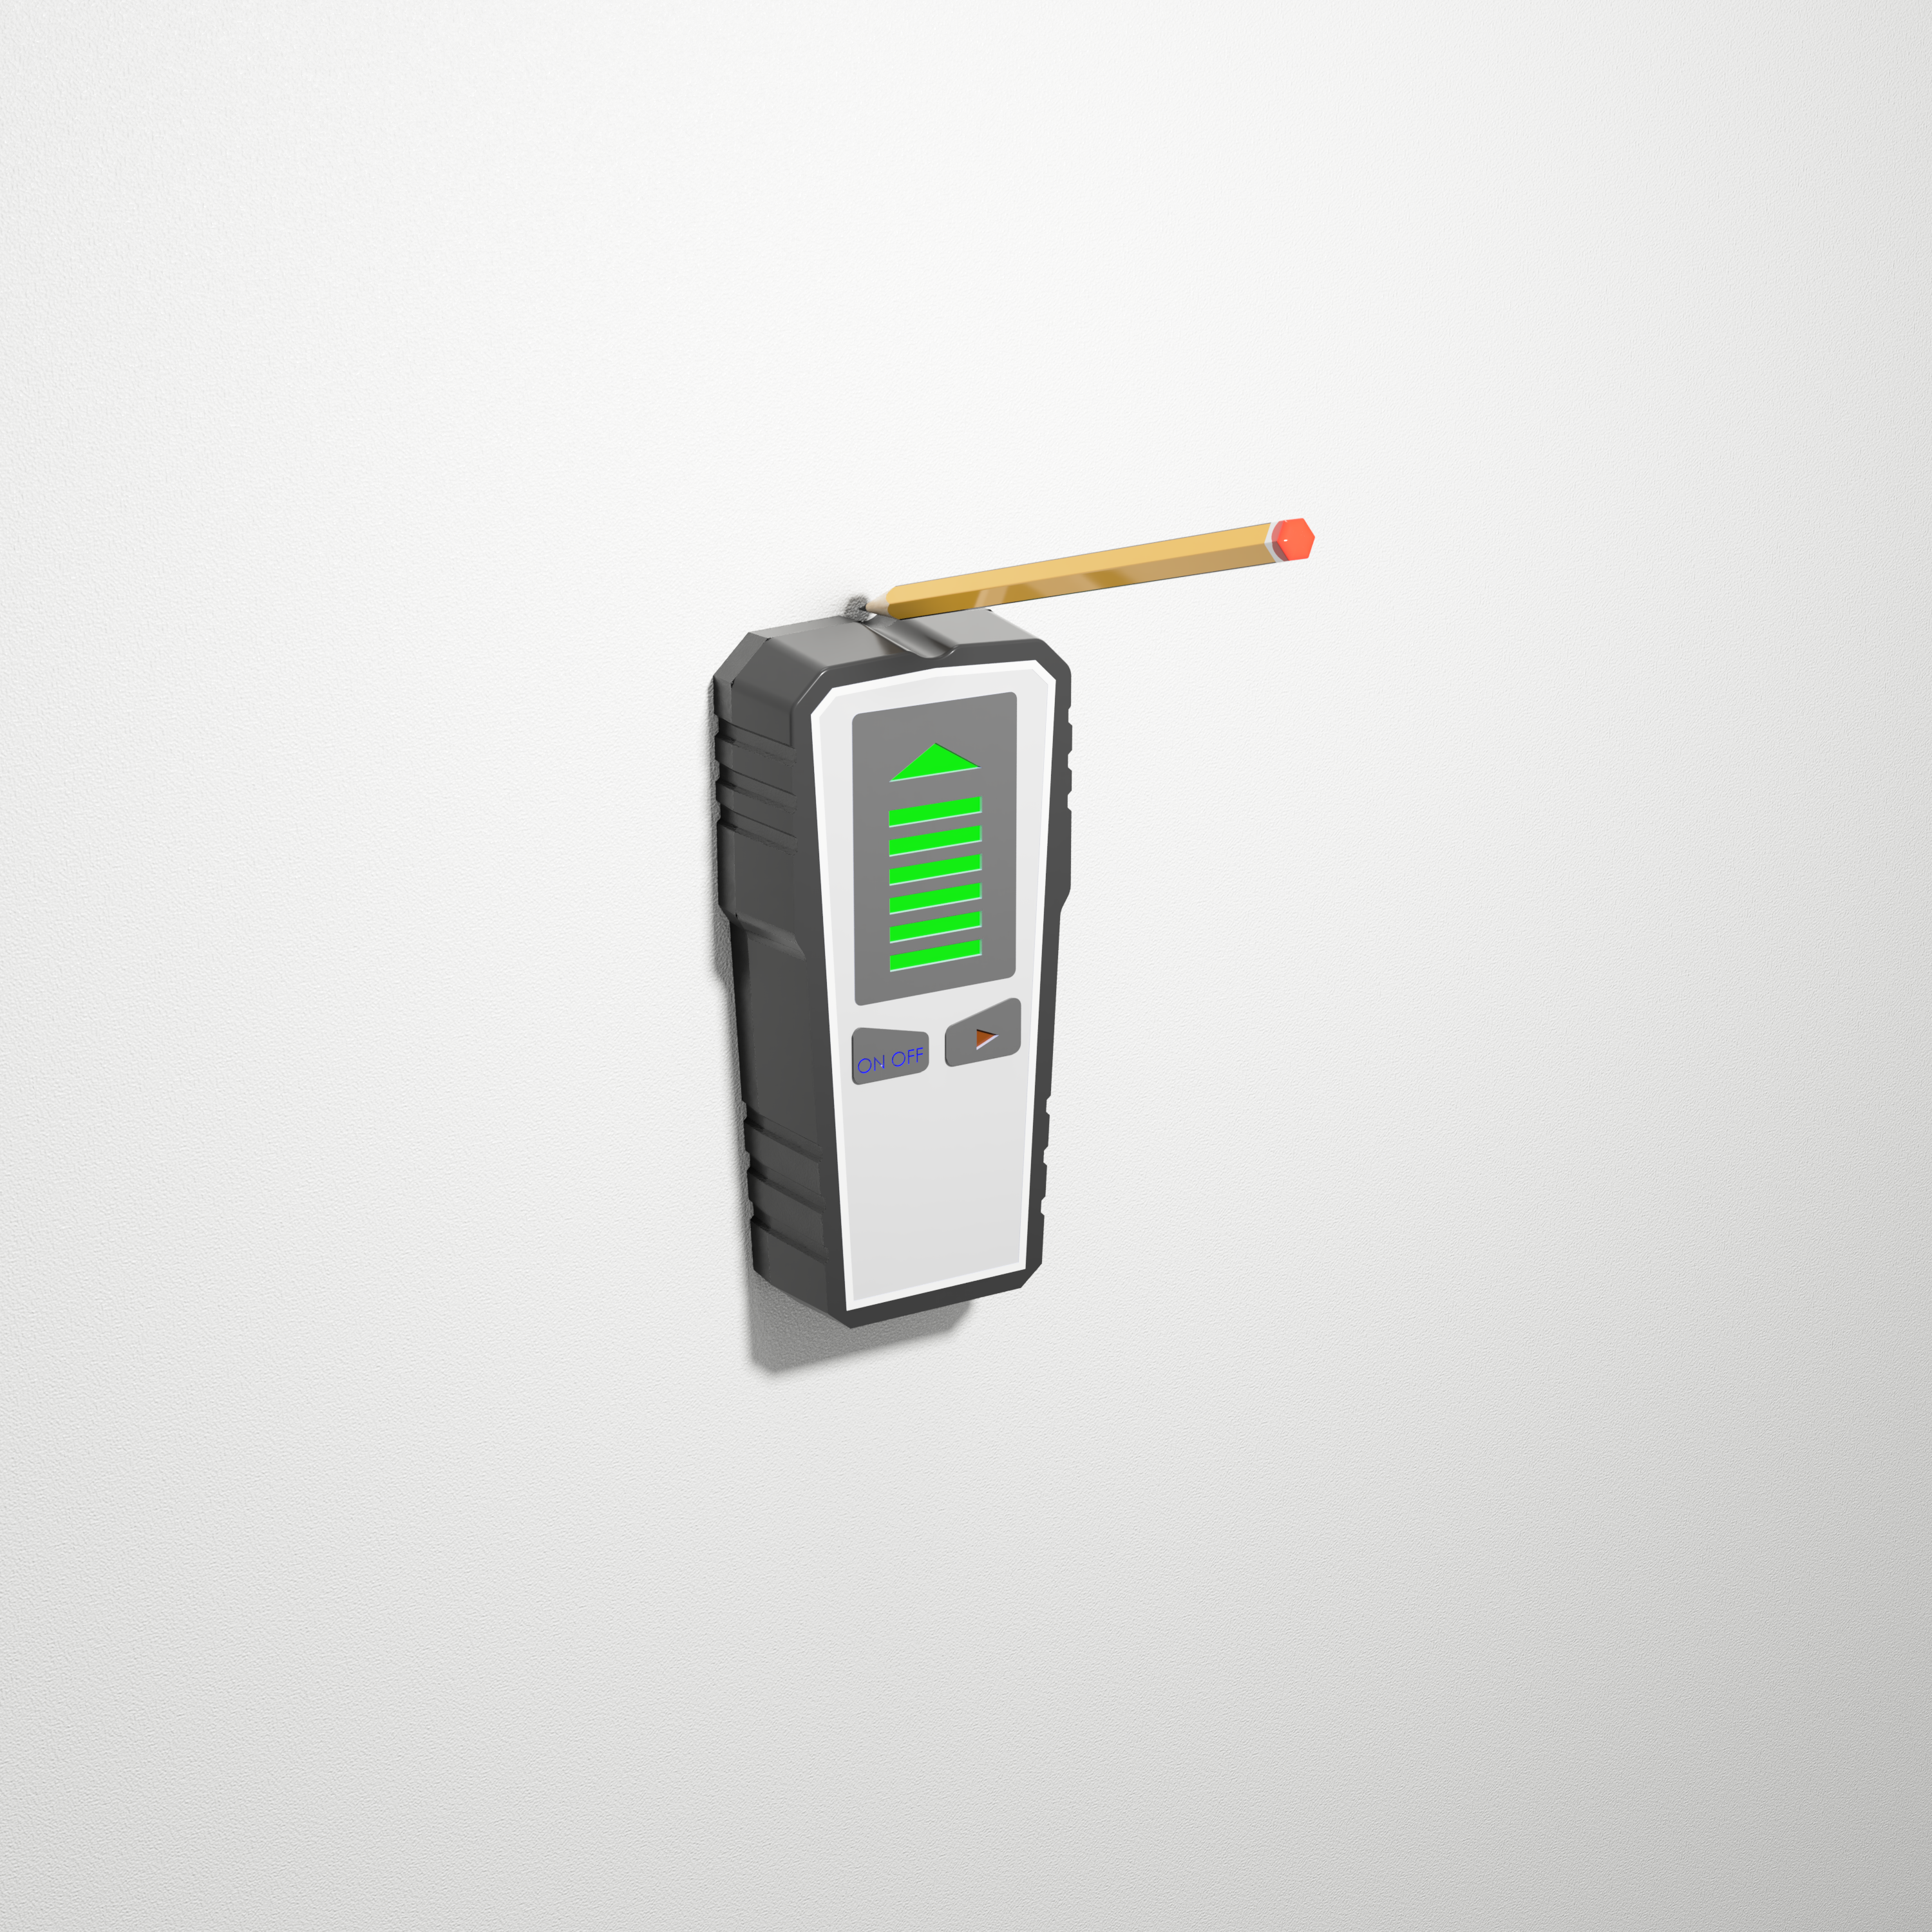
Step 1
Find your stud.
First use a stud finder or other method to precisely locate the studs within the wall. Mark the spot on the stud location where you would like to secure the mount bracket.
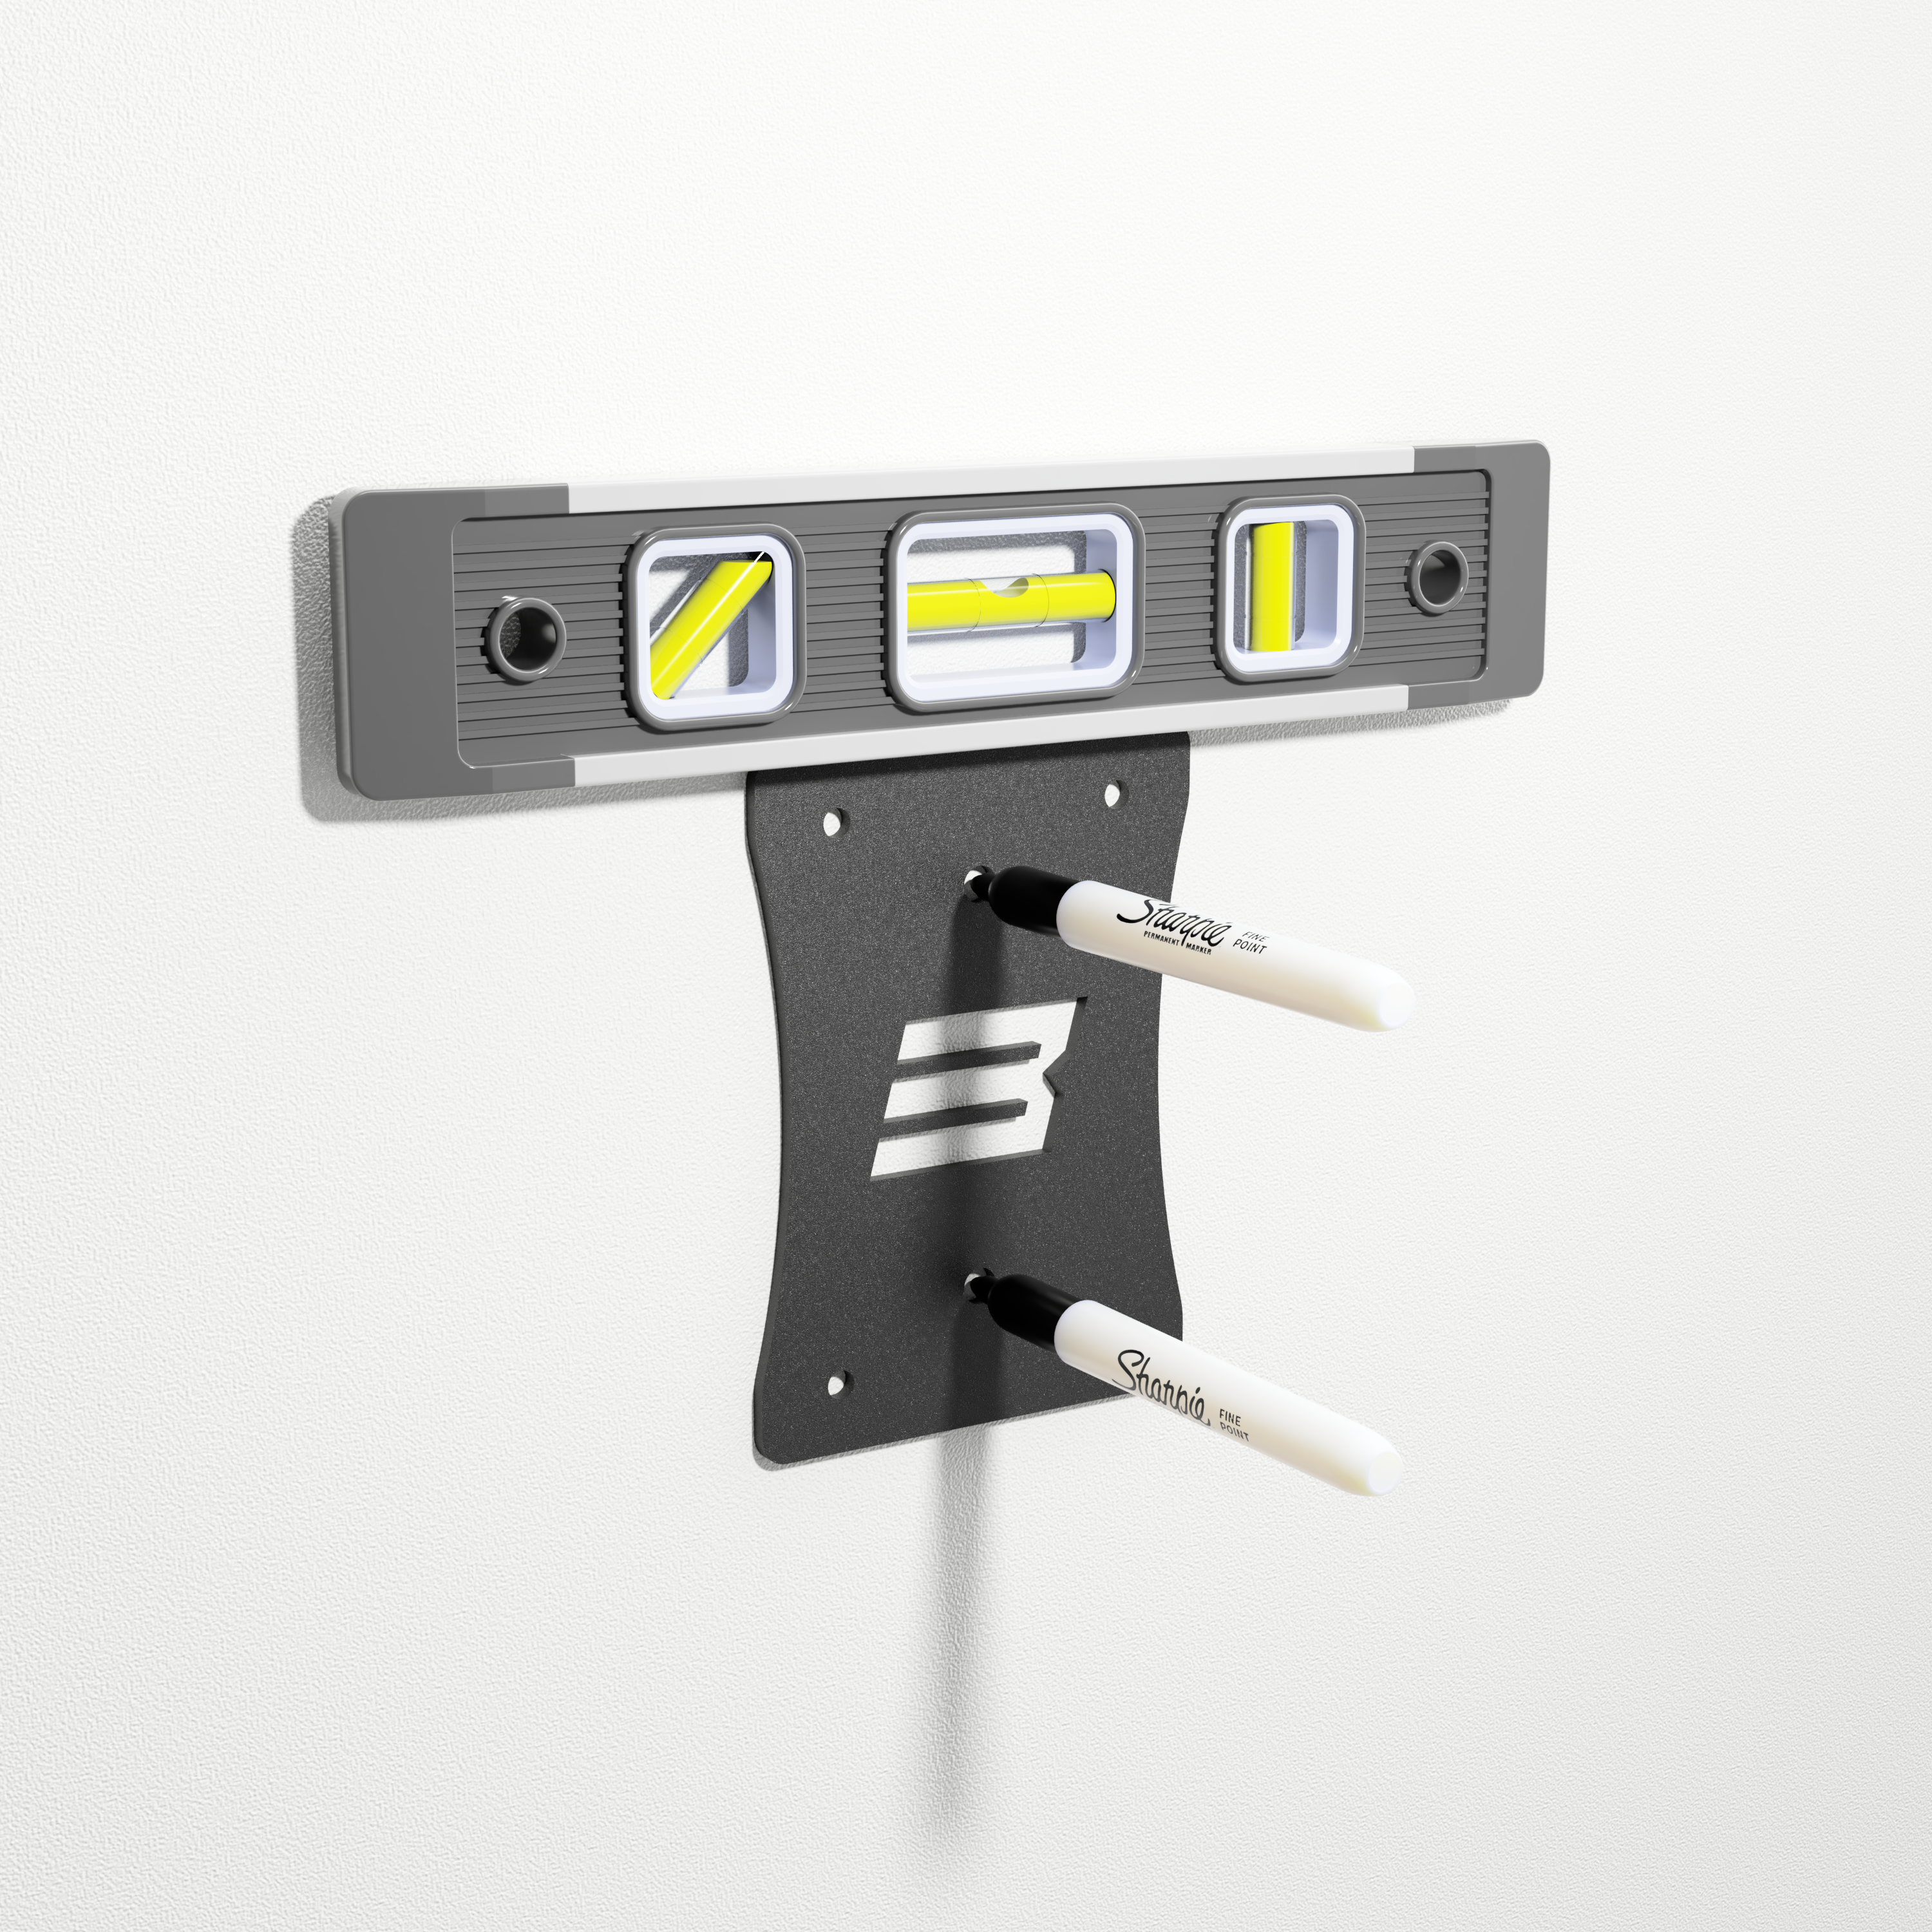
Step 2
Grab a level.
Okay now that you have found a stud in the location you want to hang your bracket its time to hold the bracket in place while using a level to insure when fully installed the tool will sit straight. Once you have the bracket on the wall and sitting level, mark the two center bolt holes.
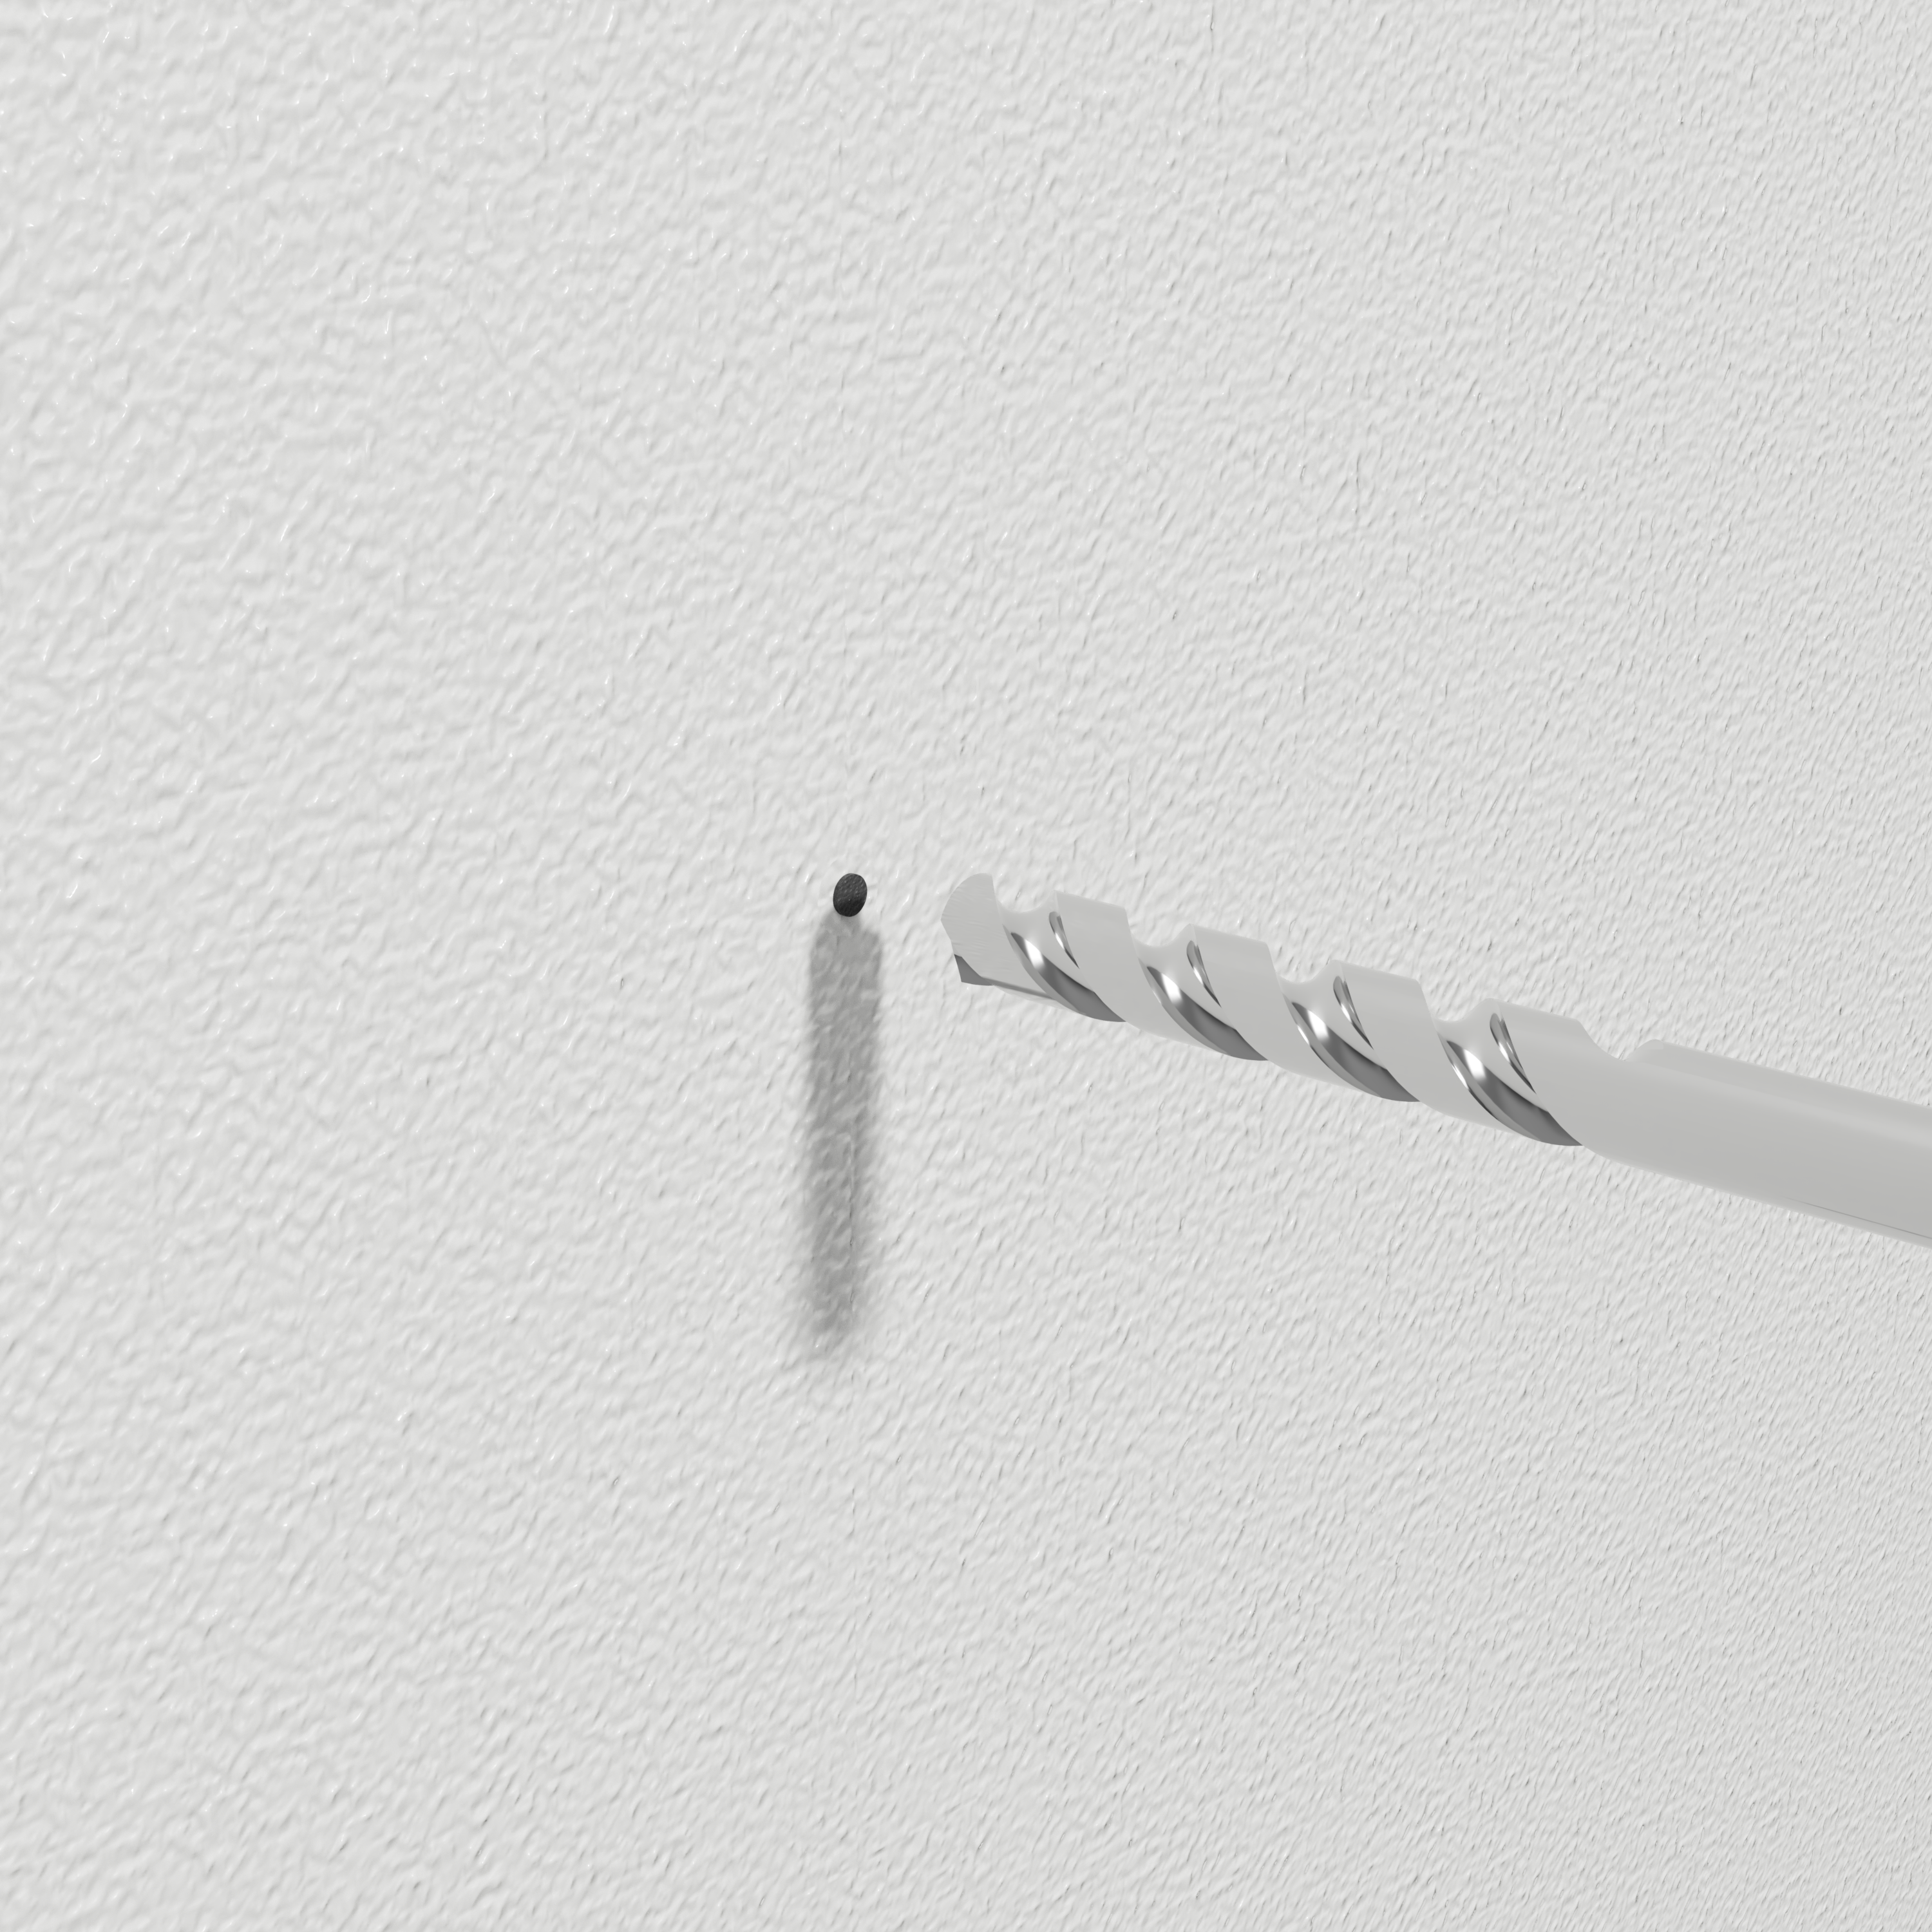
Step 3
Drill some holes!
Its best practice when installing bolts or screws to first drill a pilot hole. This not only allows an easier installation of the hardware but will also help minimize damage to the material that the screw or bolt will be going into.
TIP: Pilot holes are generally just over half the diameter size of the bolt that will be used. For example, if using a 1/4" (6.35mm) lag bolt we would use a 5/32" (3.9mm) drill bit.
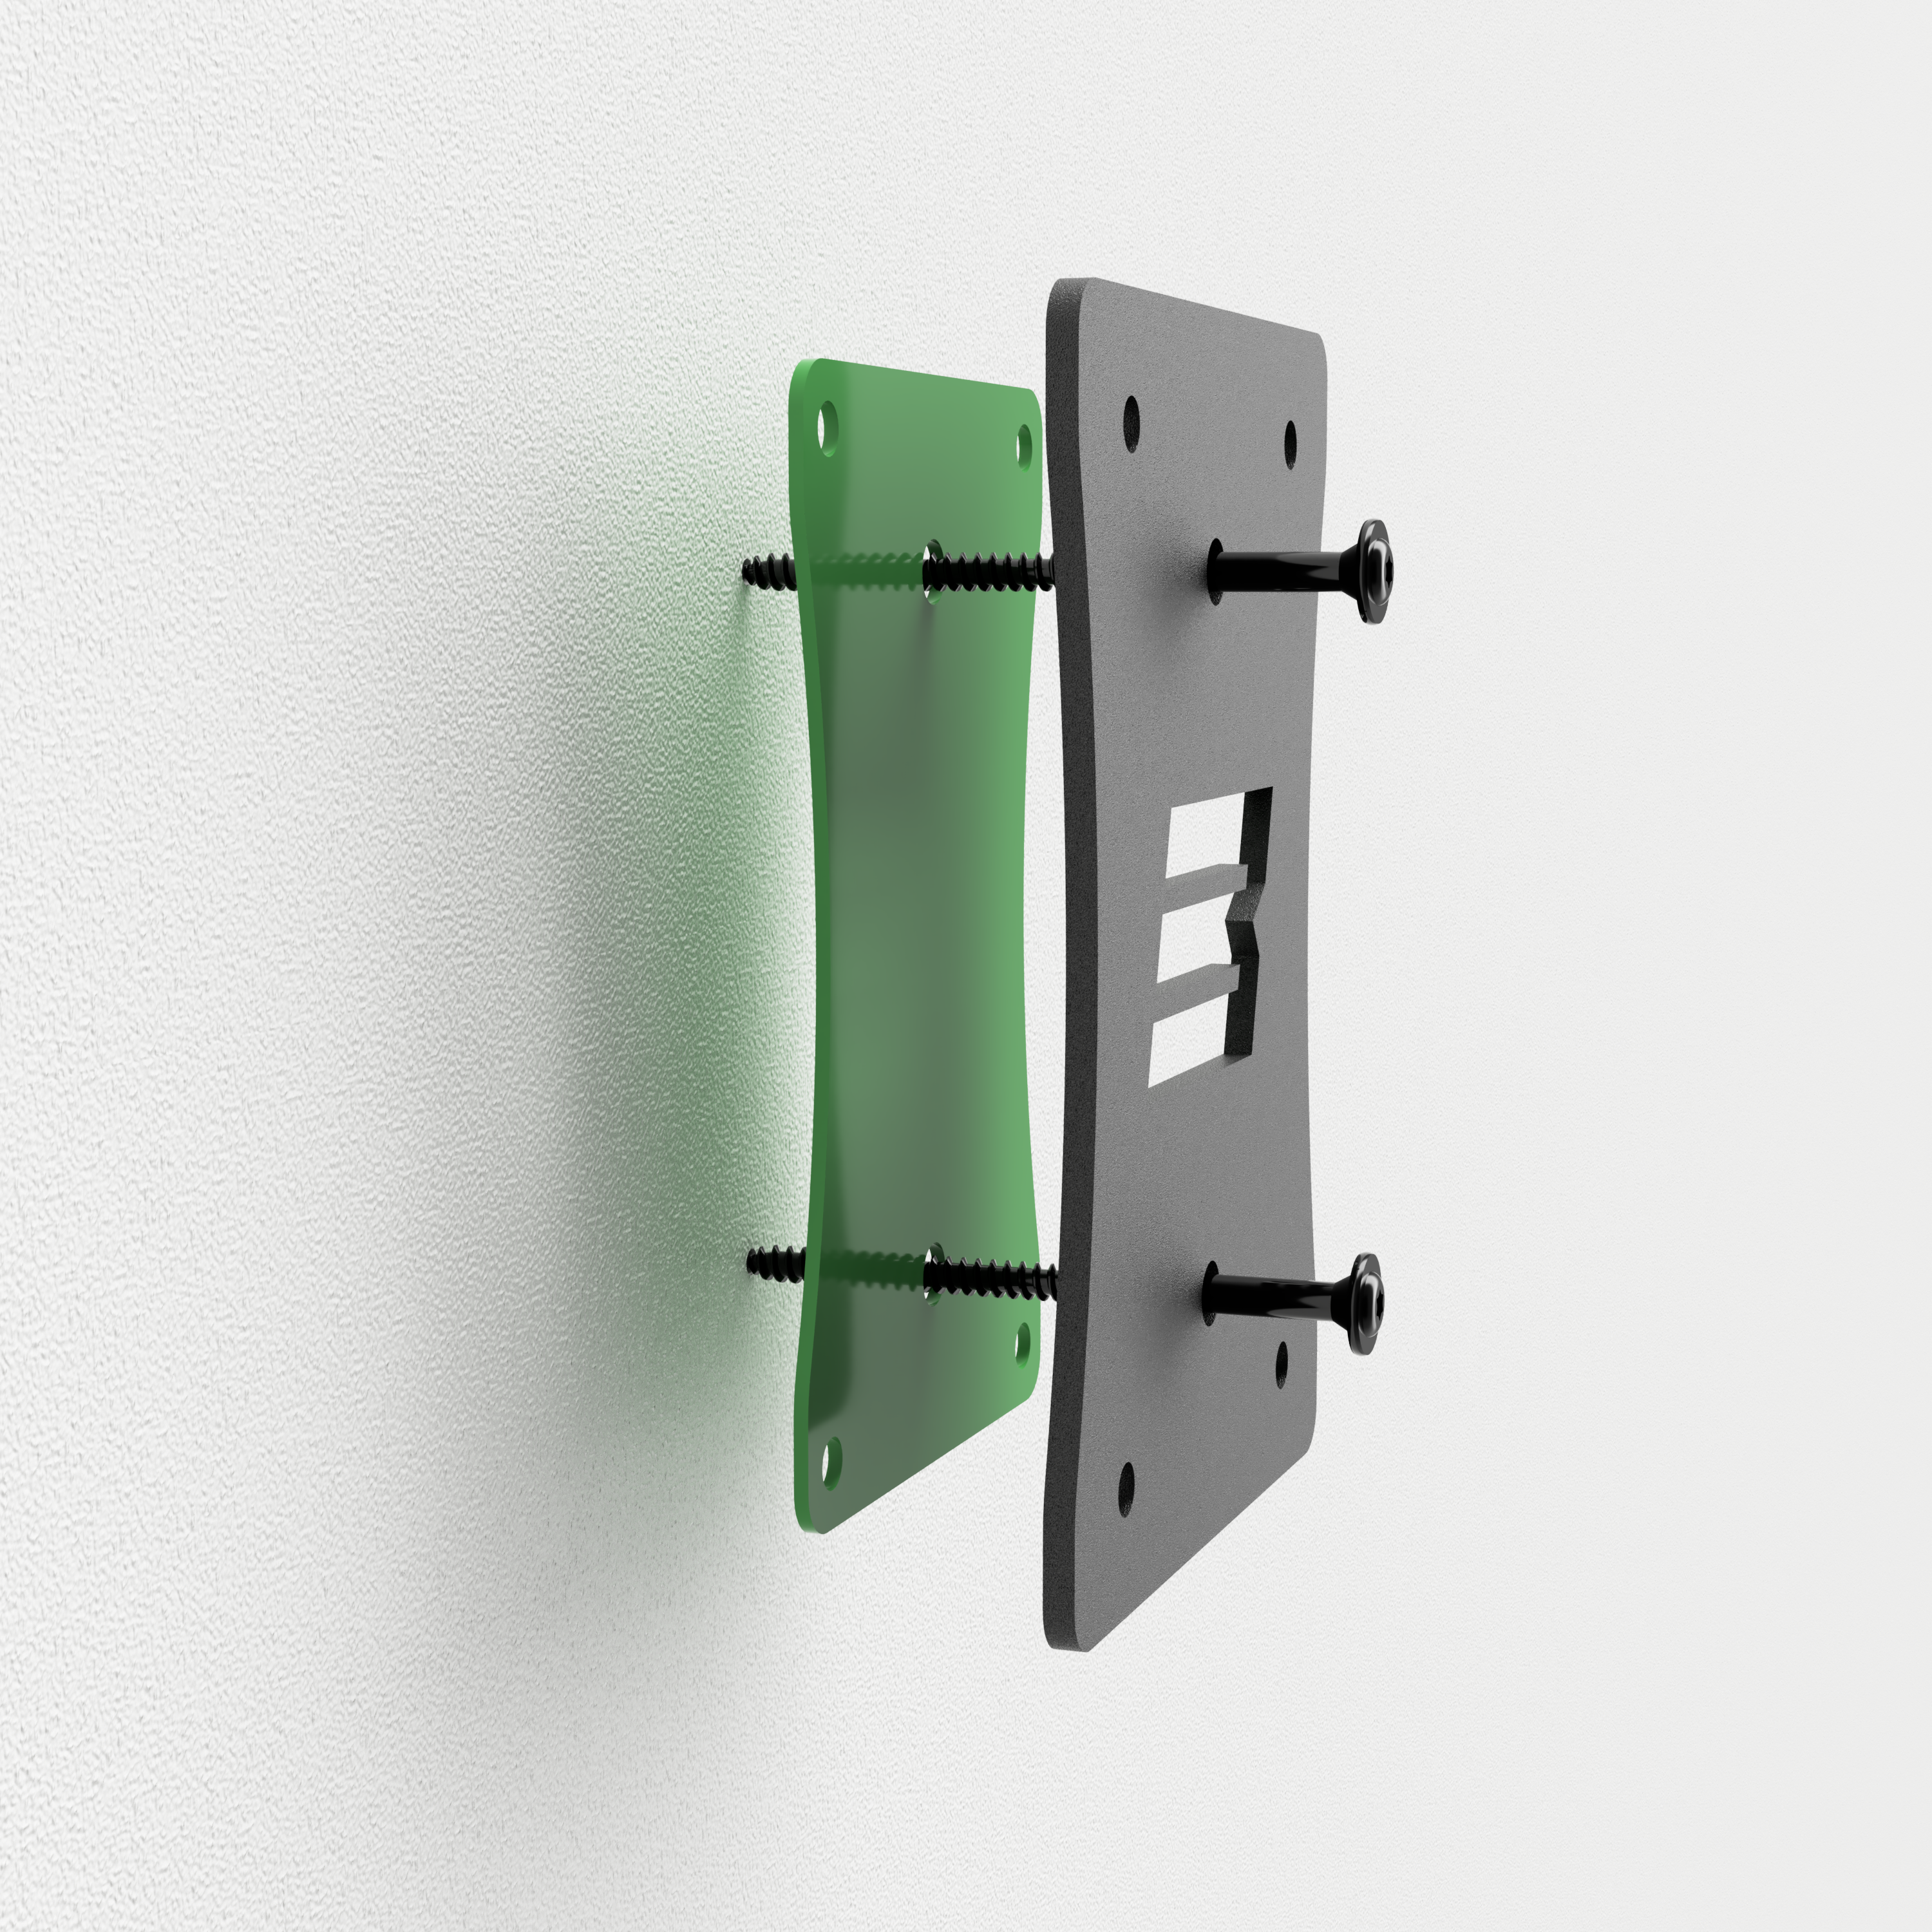
Optional
Colored logo backing plate.
Installation of the optional colored backing plate is simple. Place the plate between the mounting bracket and the wall. The bolts or screws used to secure the mounting bracket will also pass through the colored backing plate.
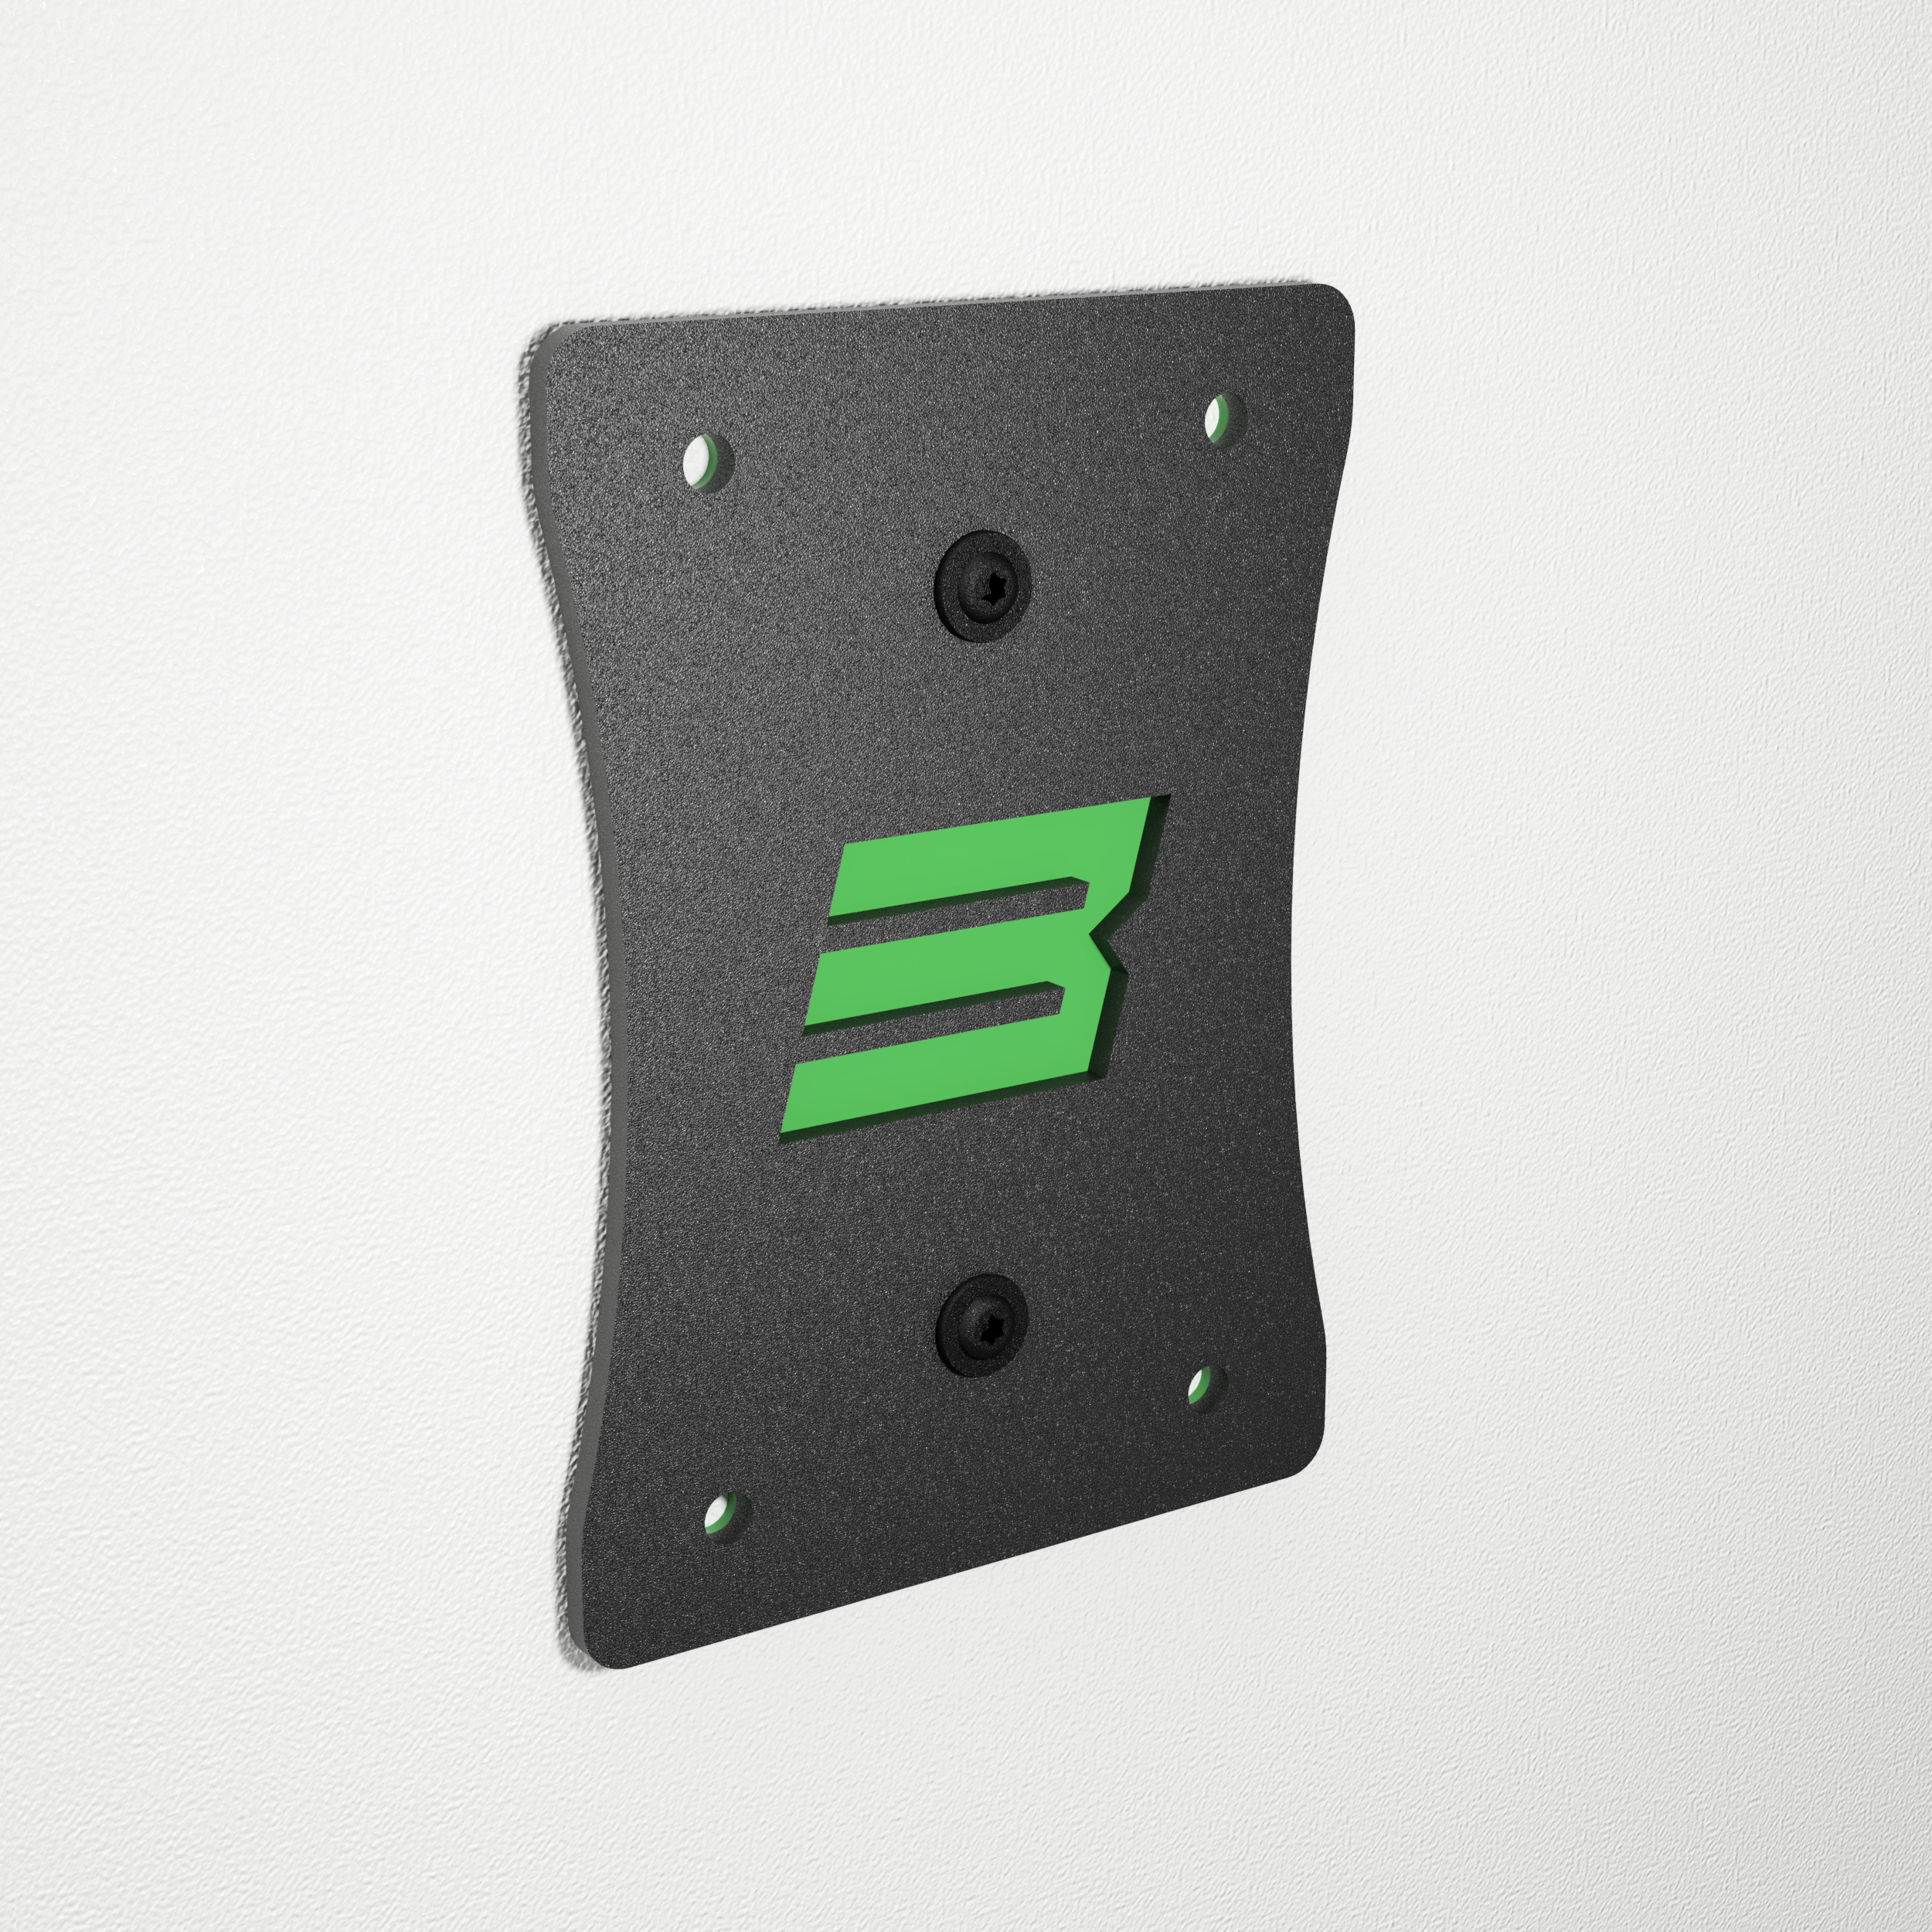
Step 4
Tighten it down!
Now the easy part! Place the bracket back onto the wall and use your hardware of choice to tighten the bracket to the wall.
Gladiator Gear Track™
Installation Guide.
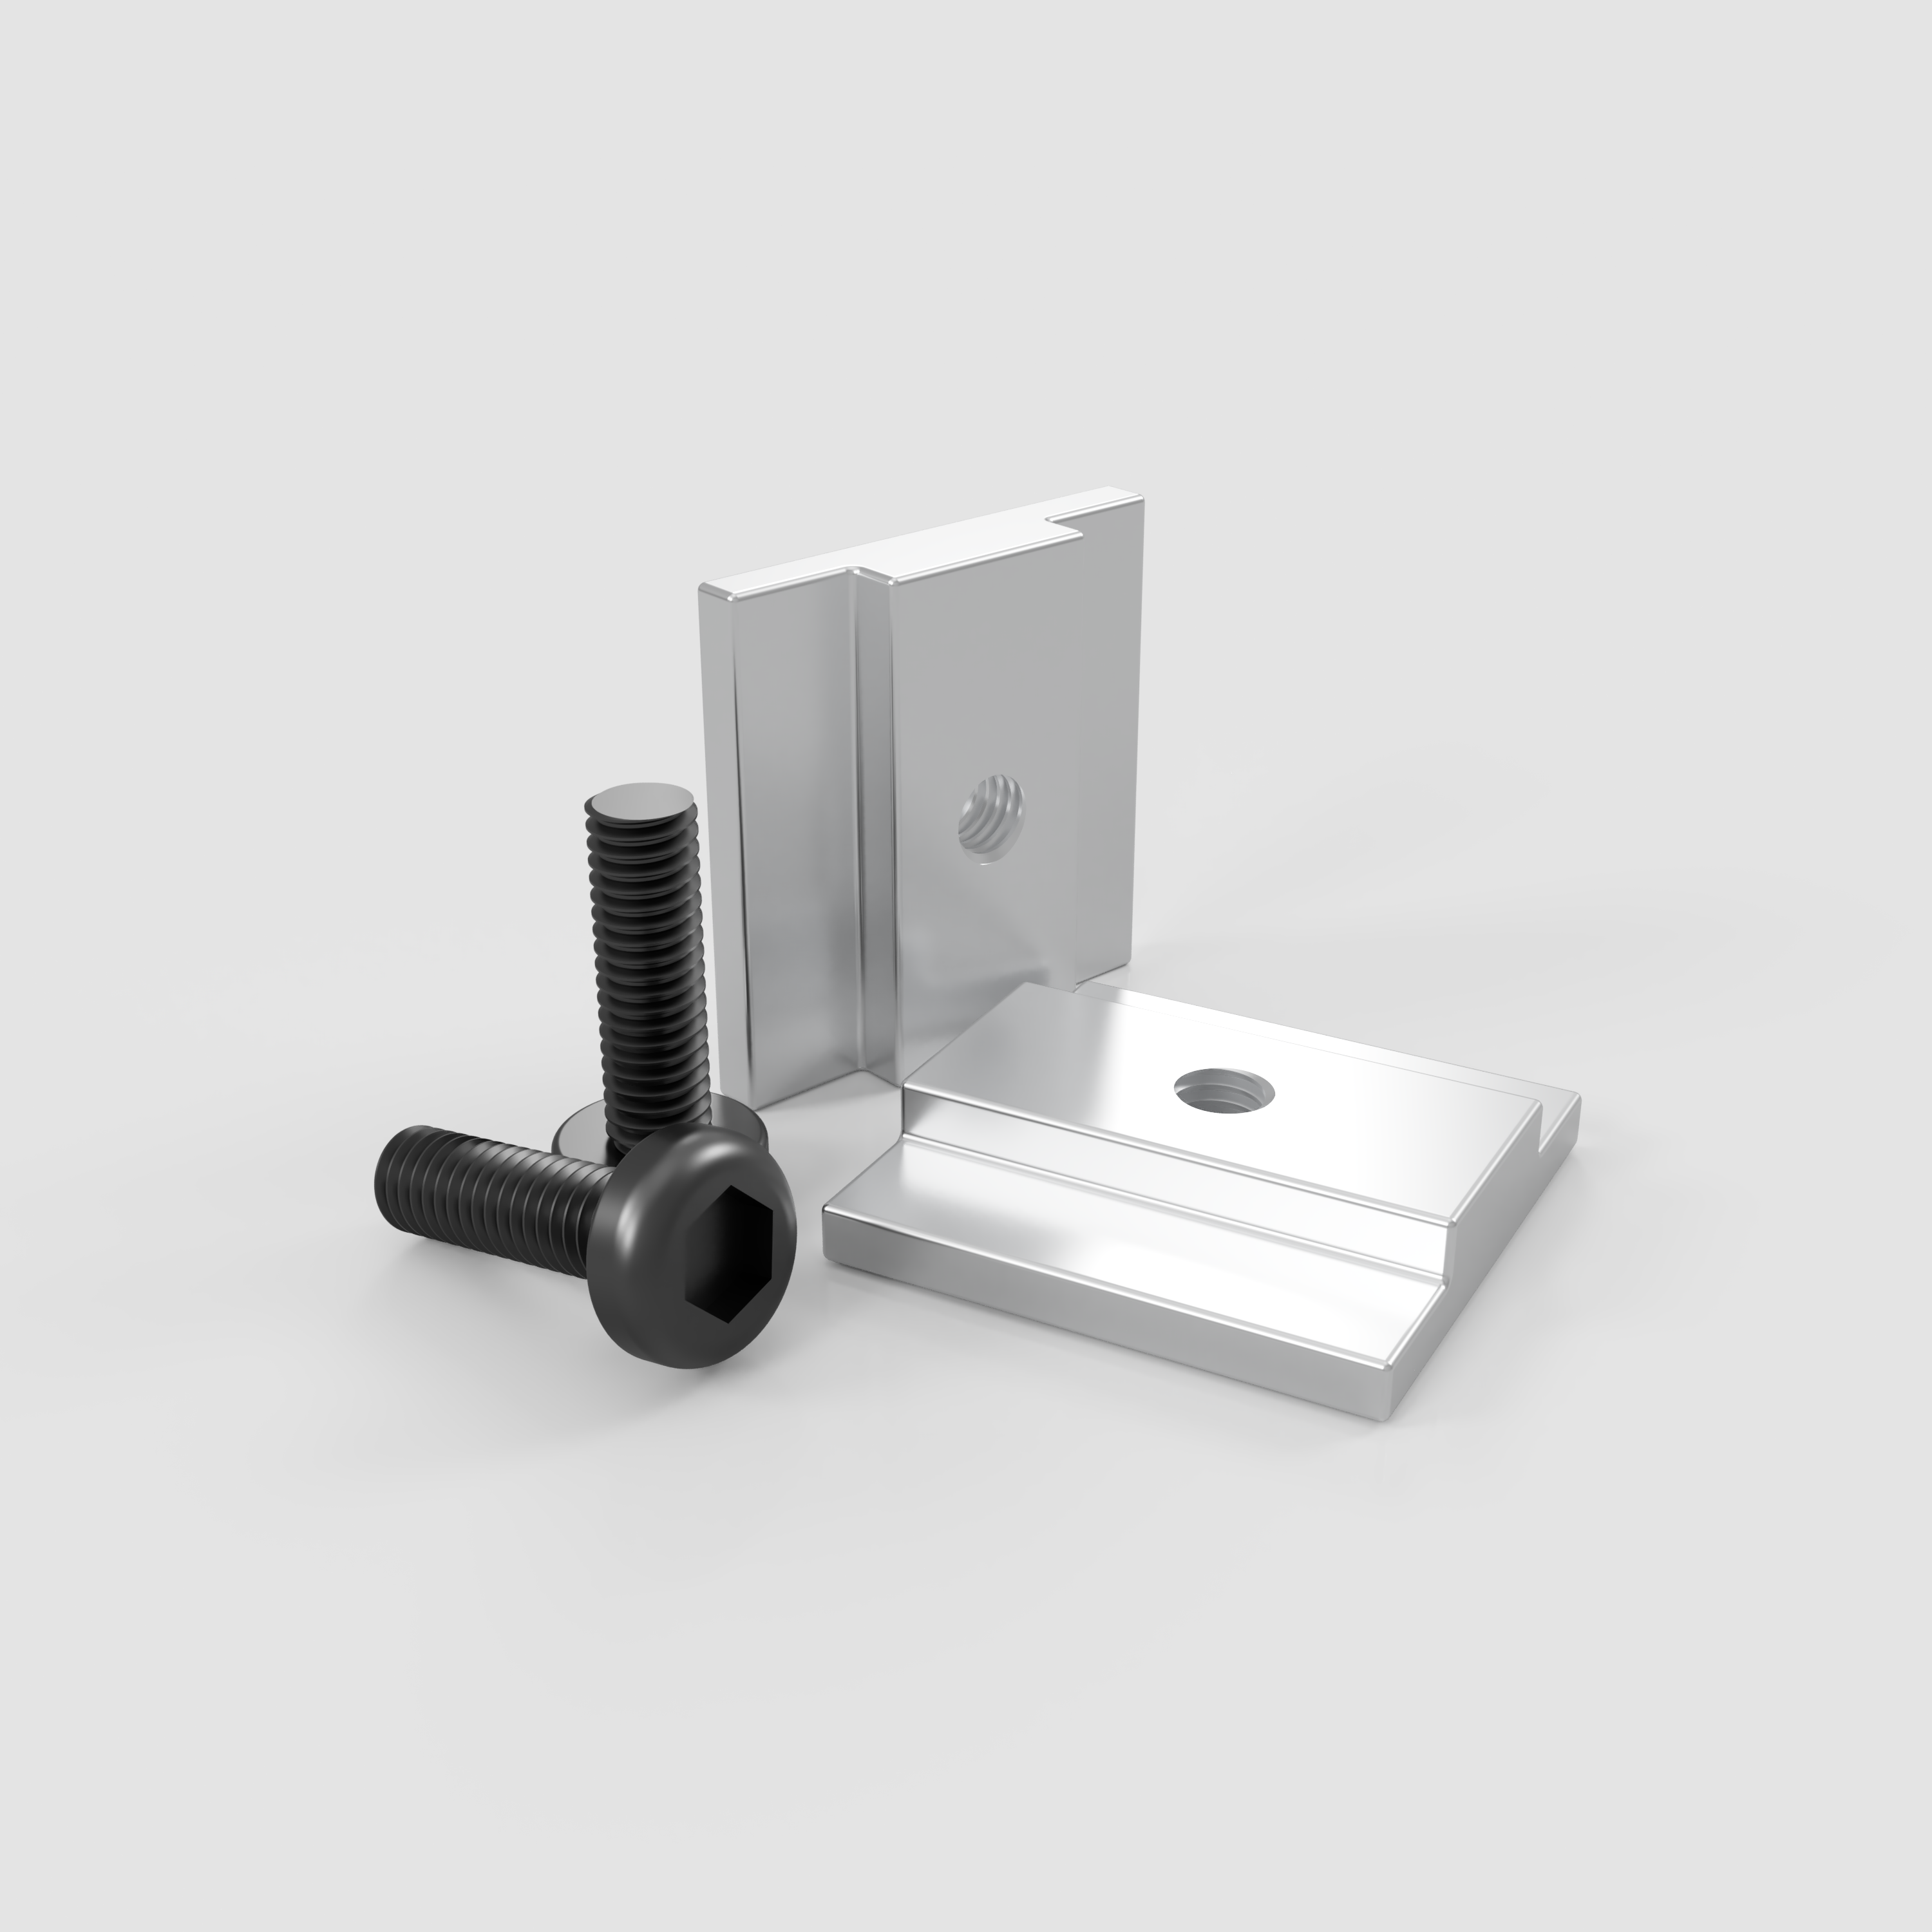
This quick walkthrough explains how to properly install BennettBuilt brackets using our custom slot nuts.
This is a strong mounting method.
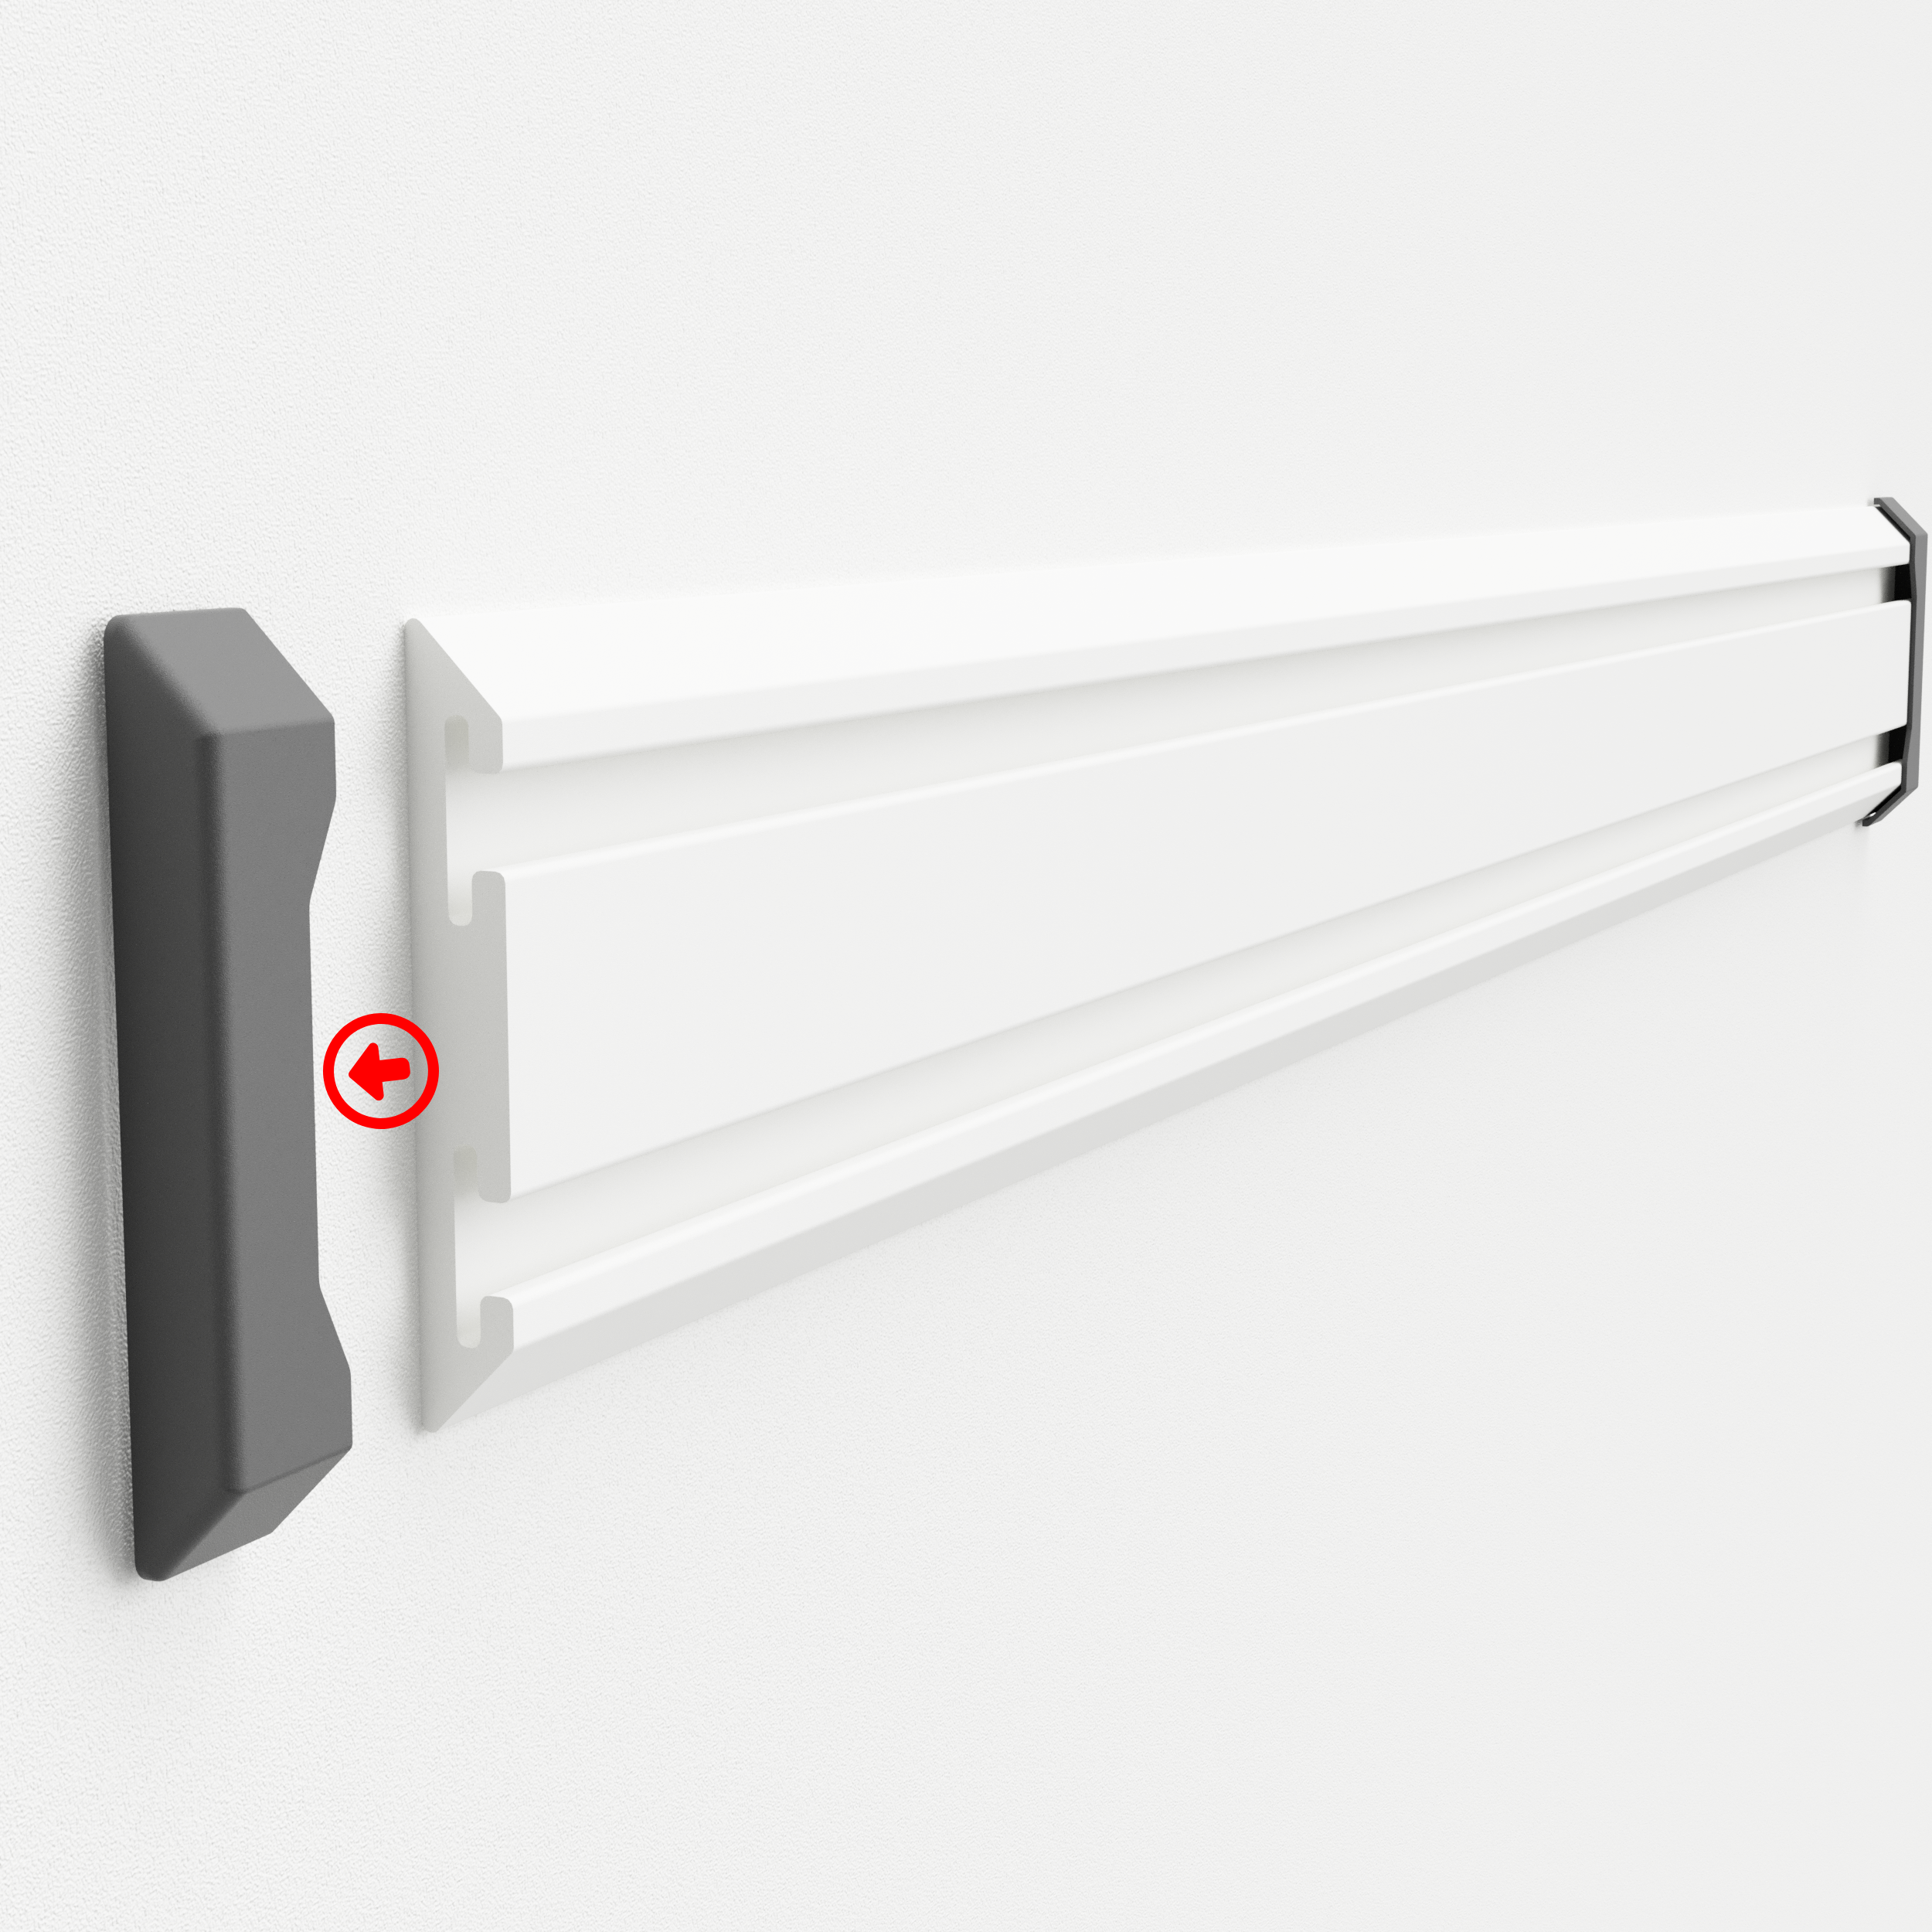
Step 1
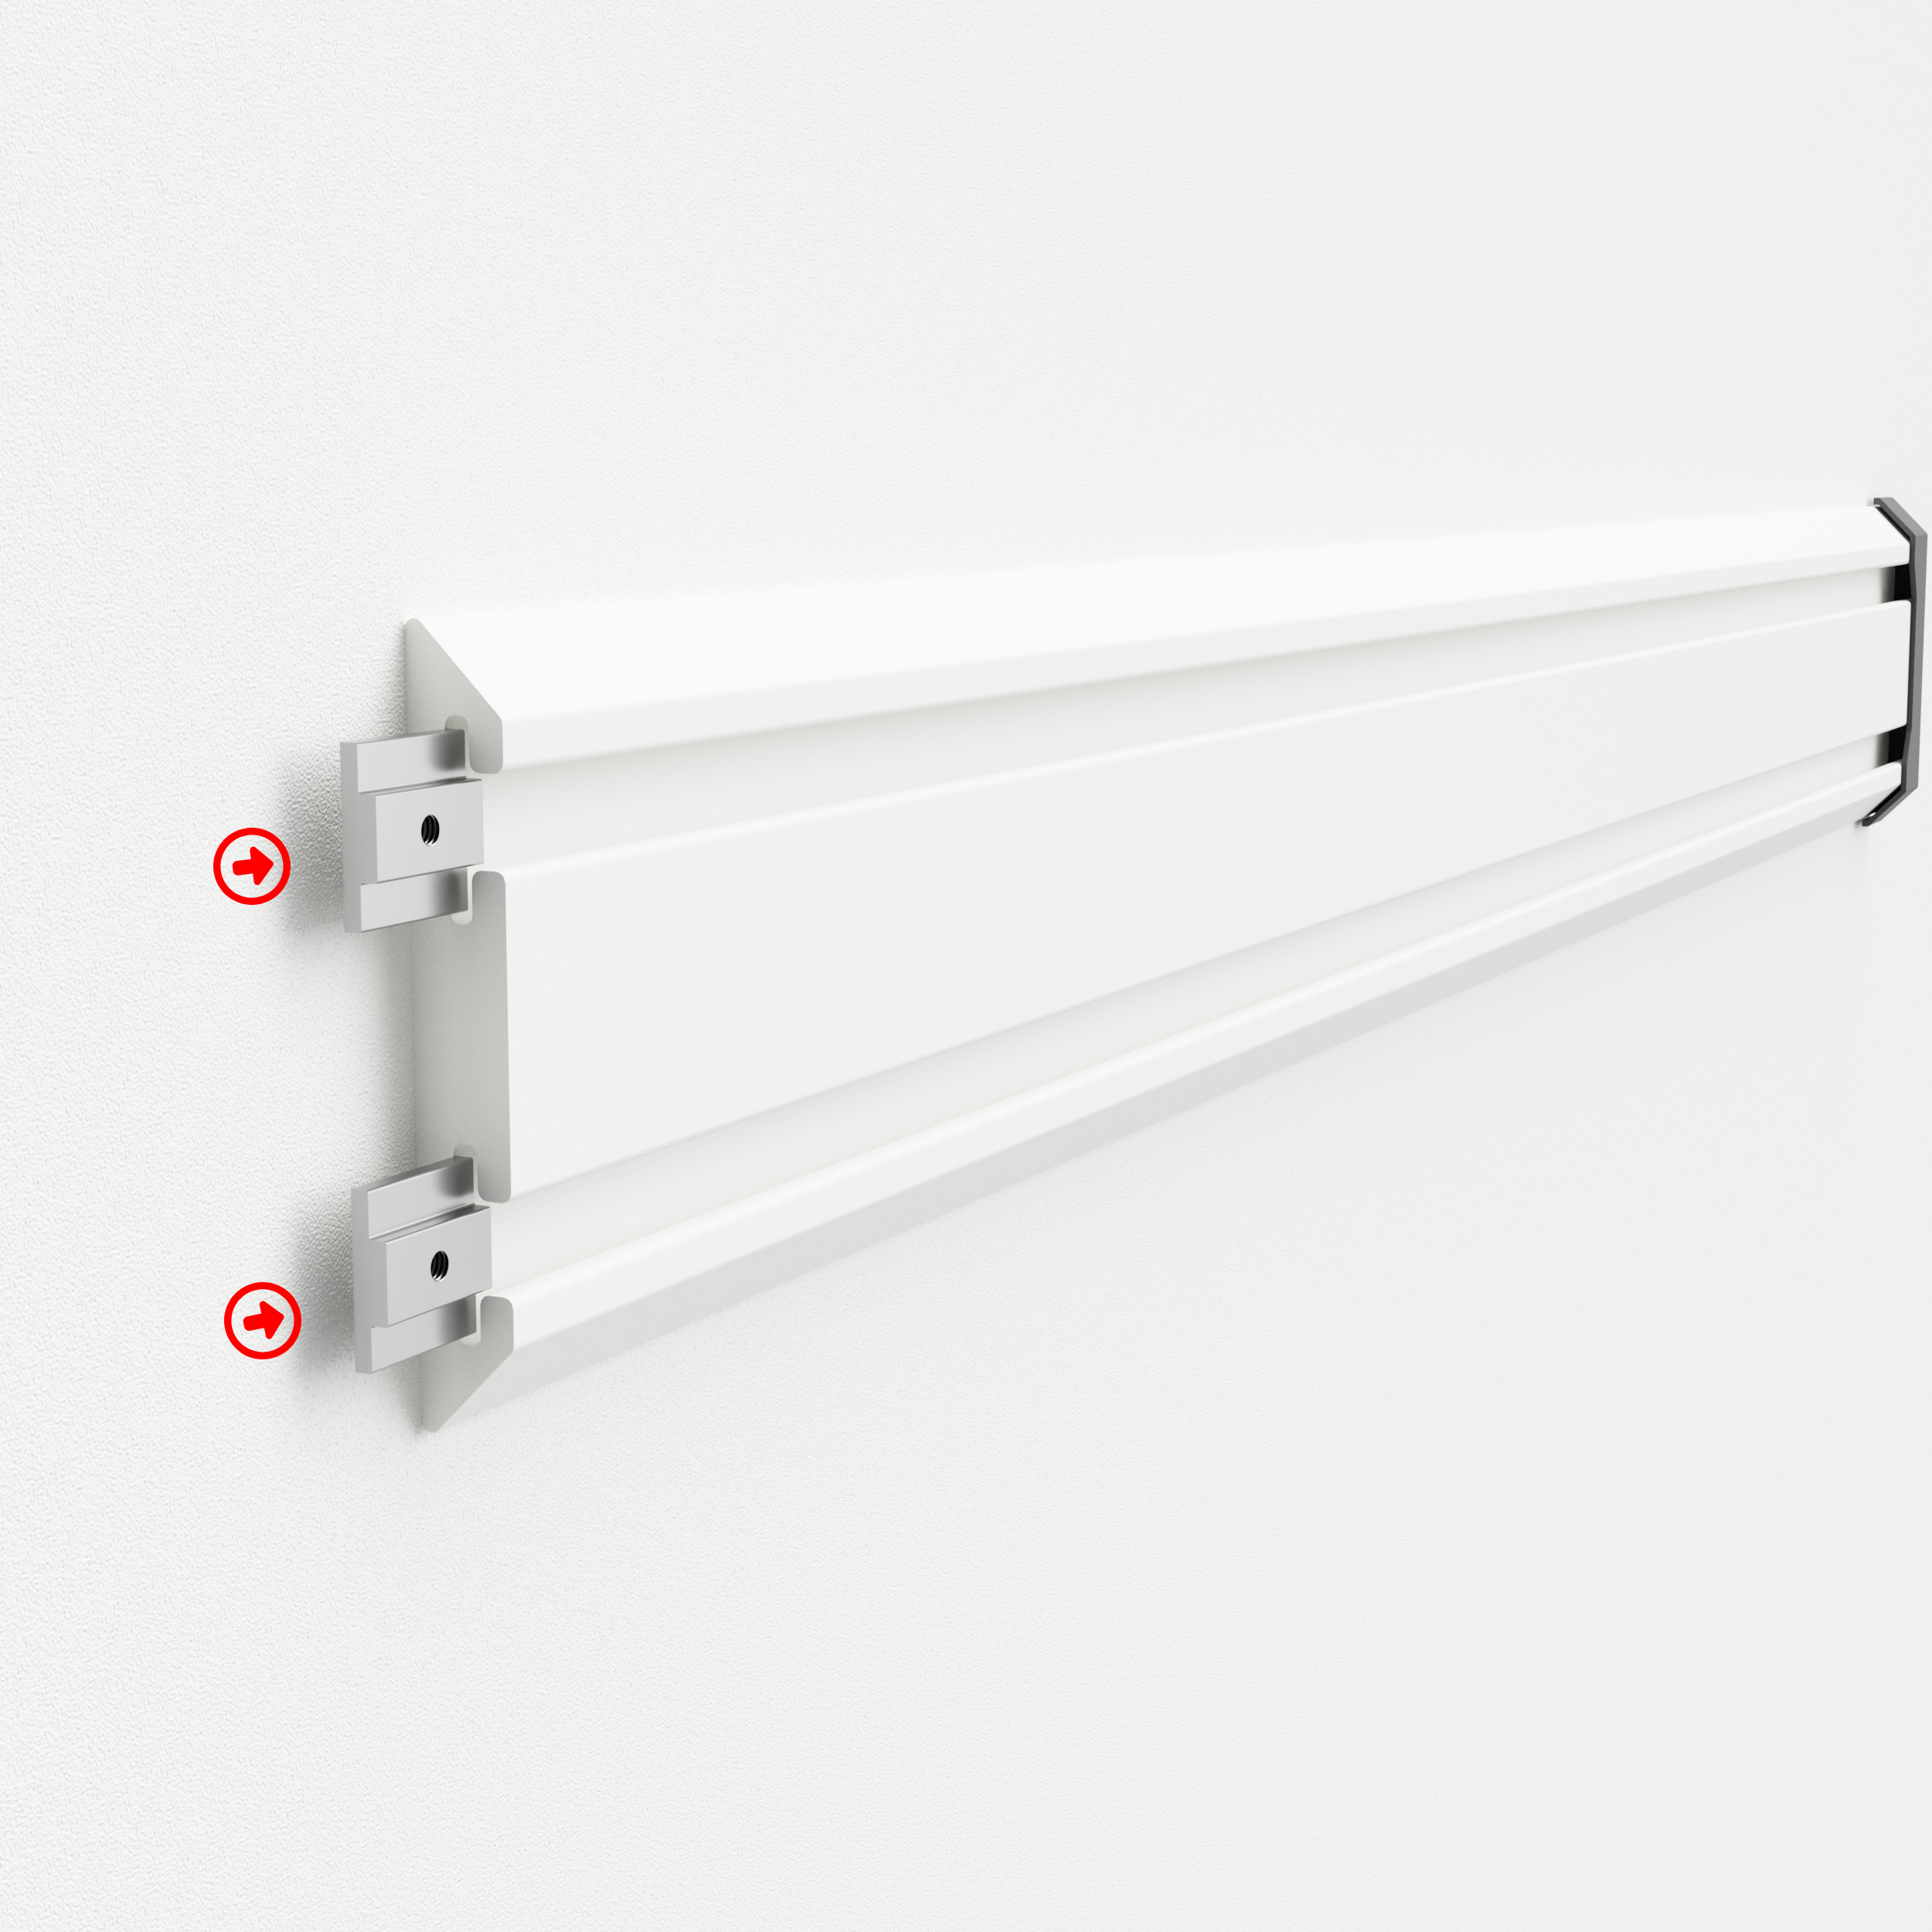
Remove the endcap.
If your Gladiator GearTrack™ has the optional endcap, this must be temporarily removed.
Step 2
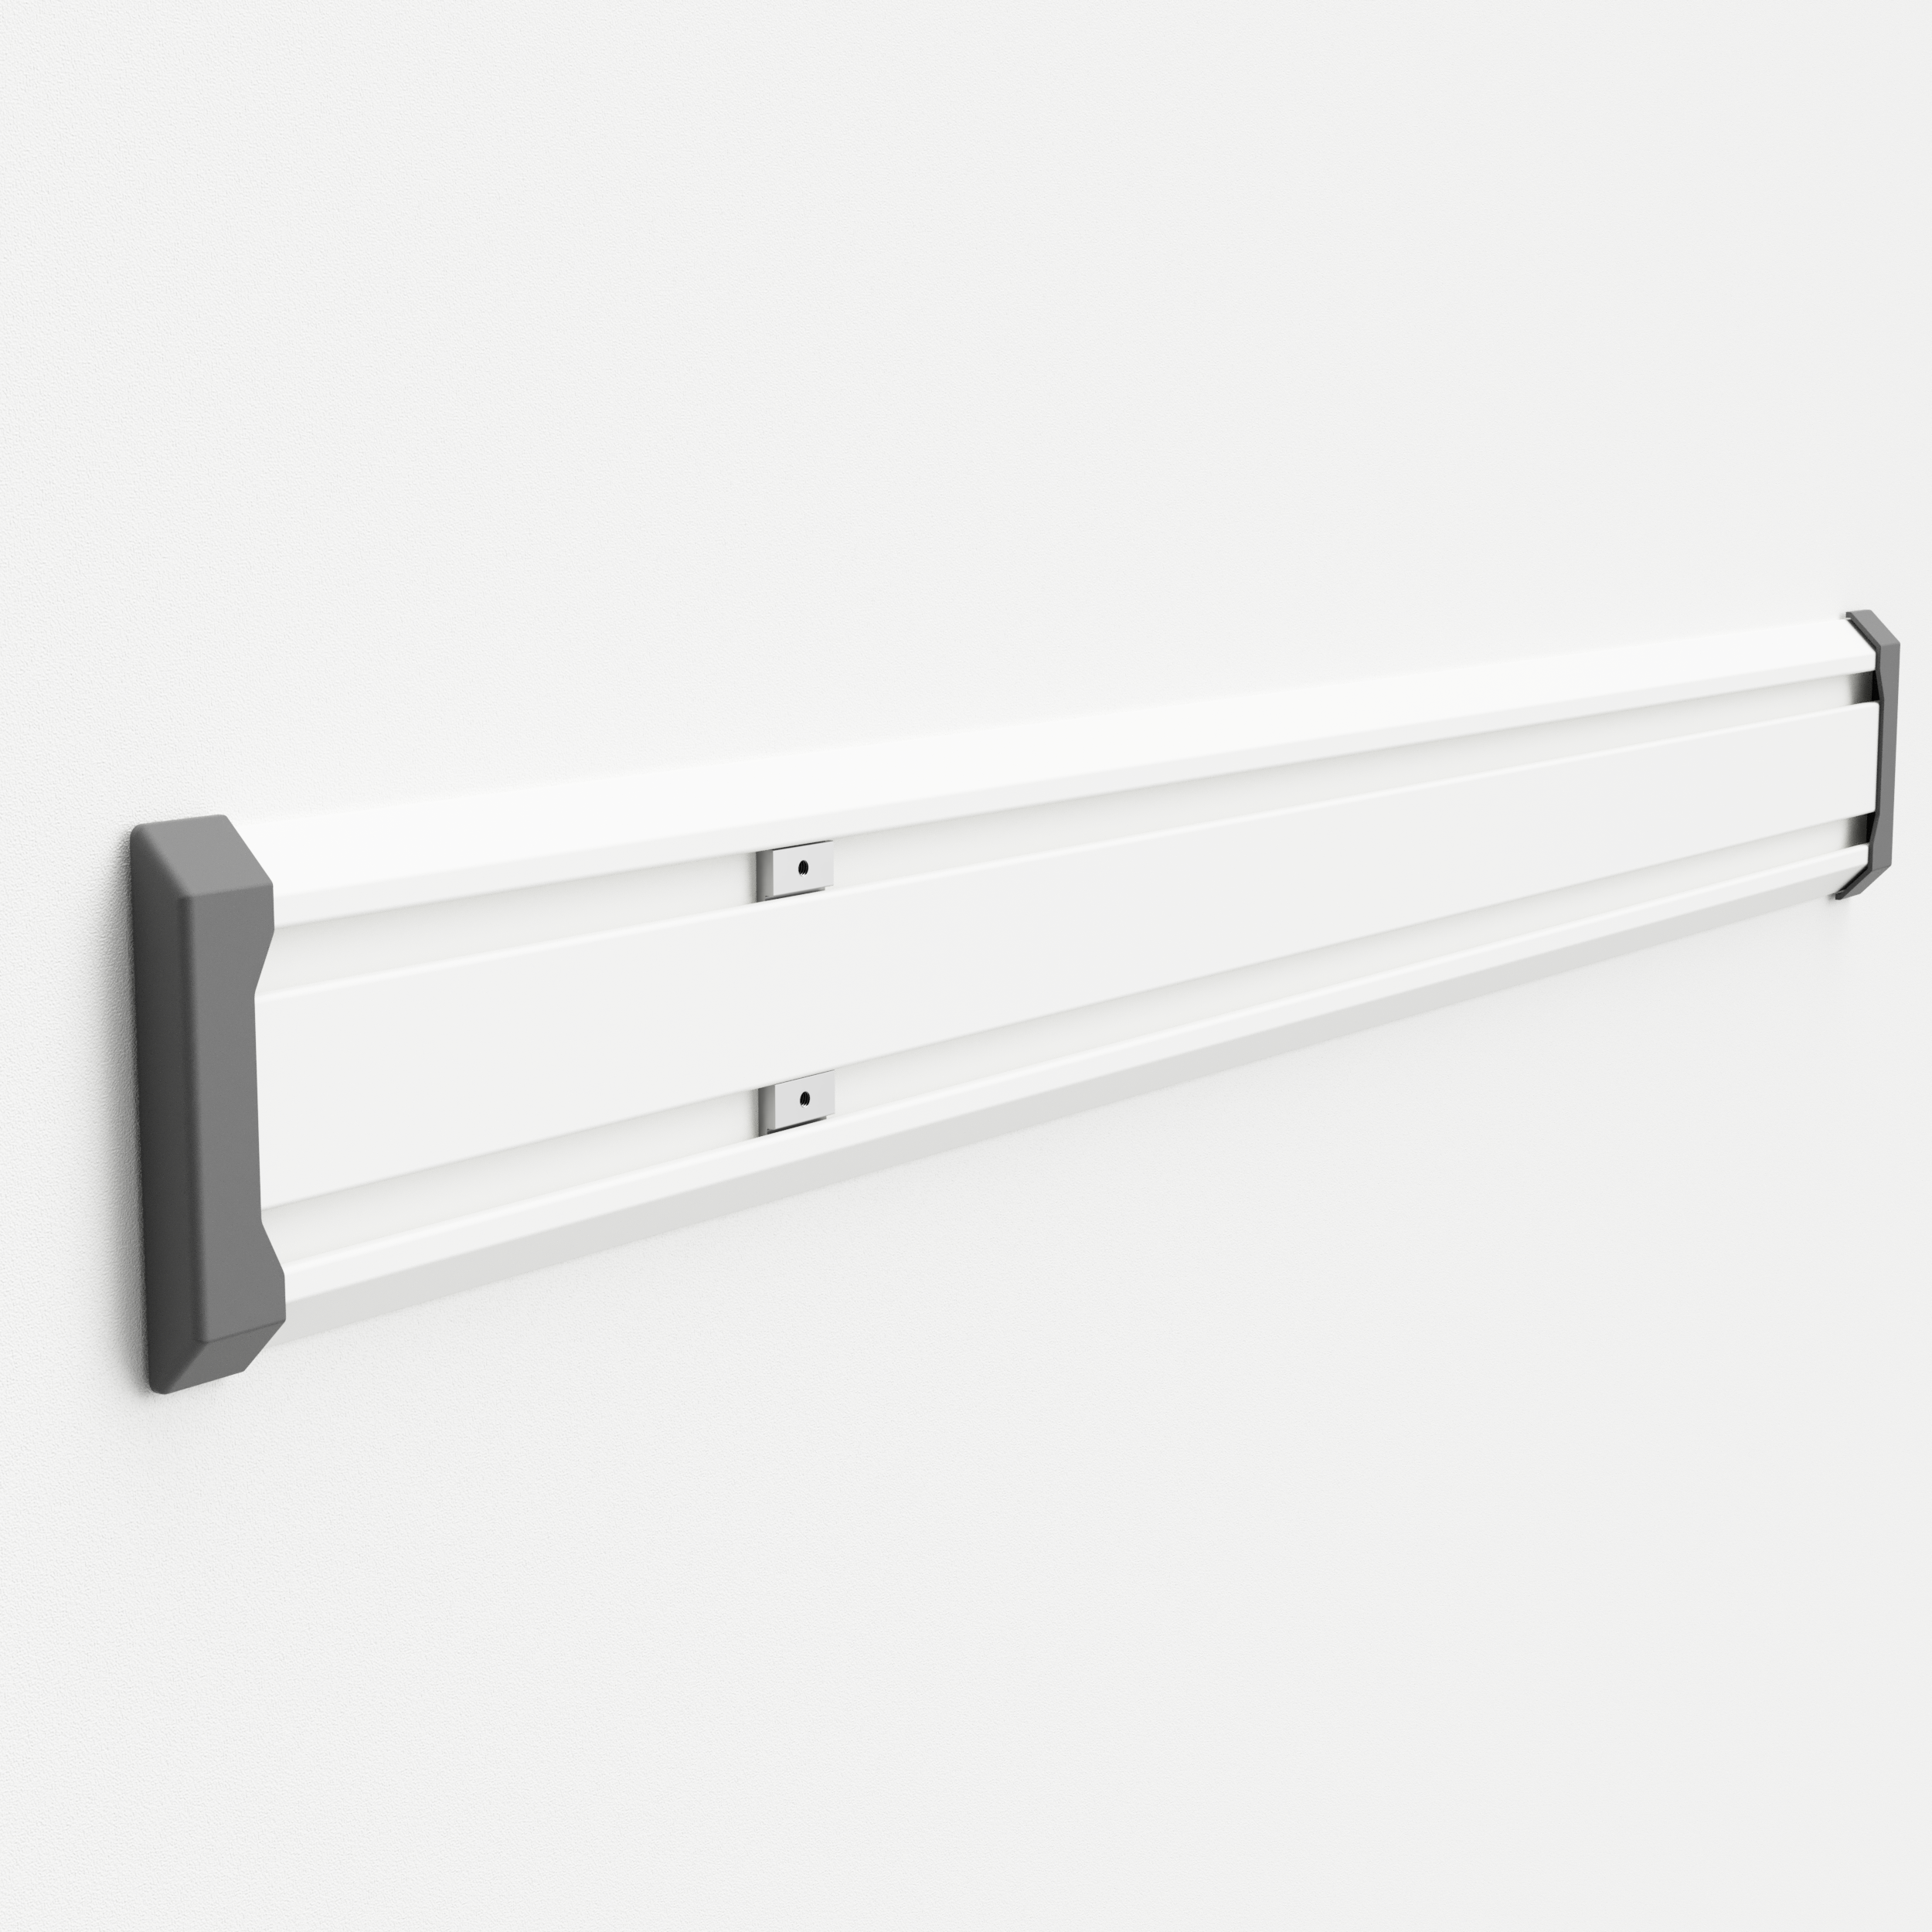
Insert the BennettBuilt Track Nuts.
Insert the track nuts into the Gladiator GearTrack™ and slide down to the desired mounting location.
Step 3
Reinstall The Endcap.
Reinstall the Gladiator GearTrack™ optional end cap.
Optional
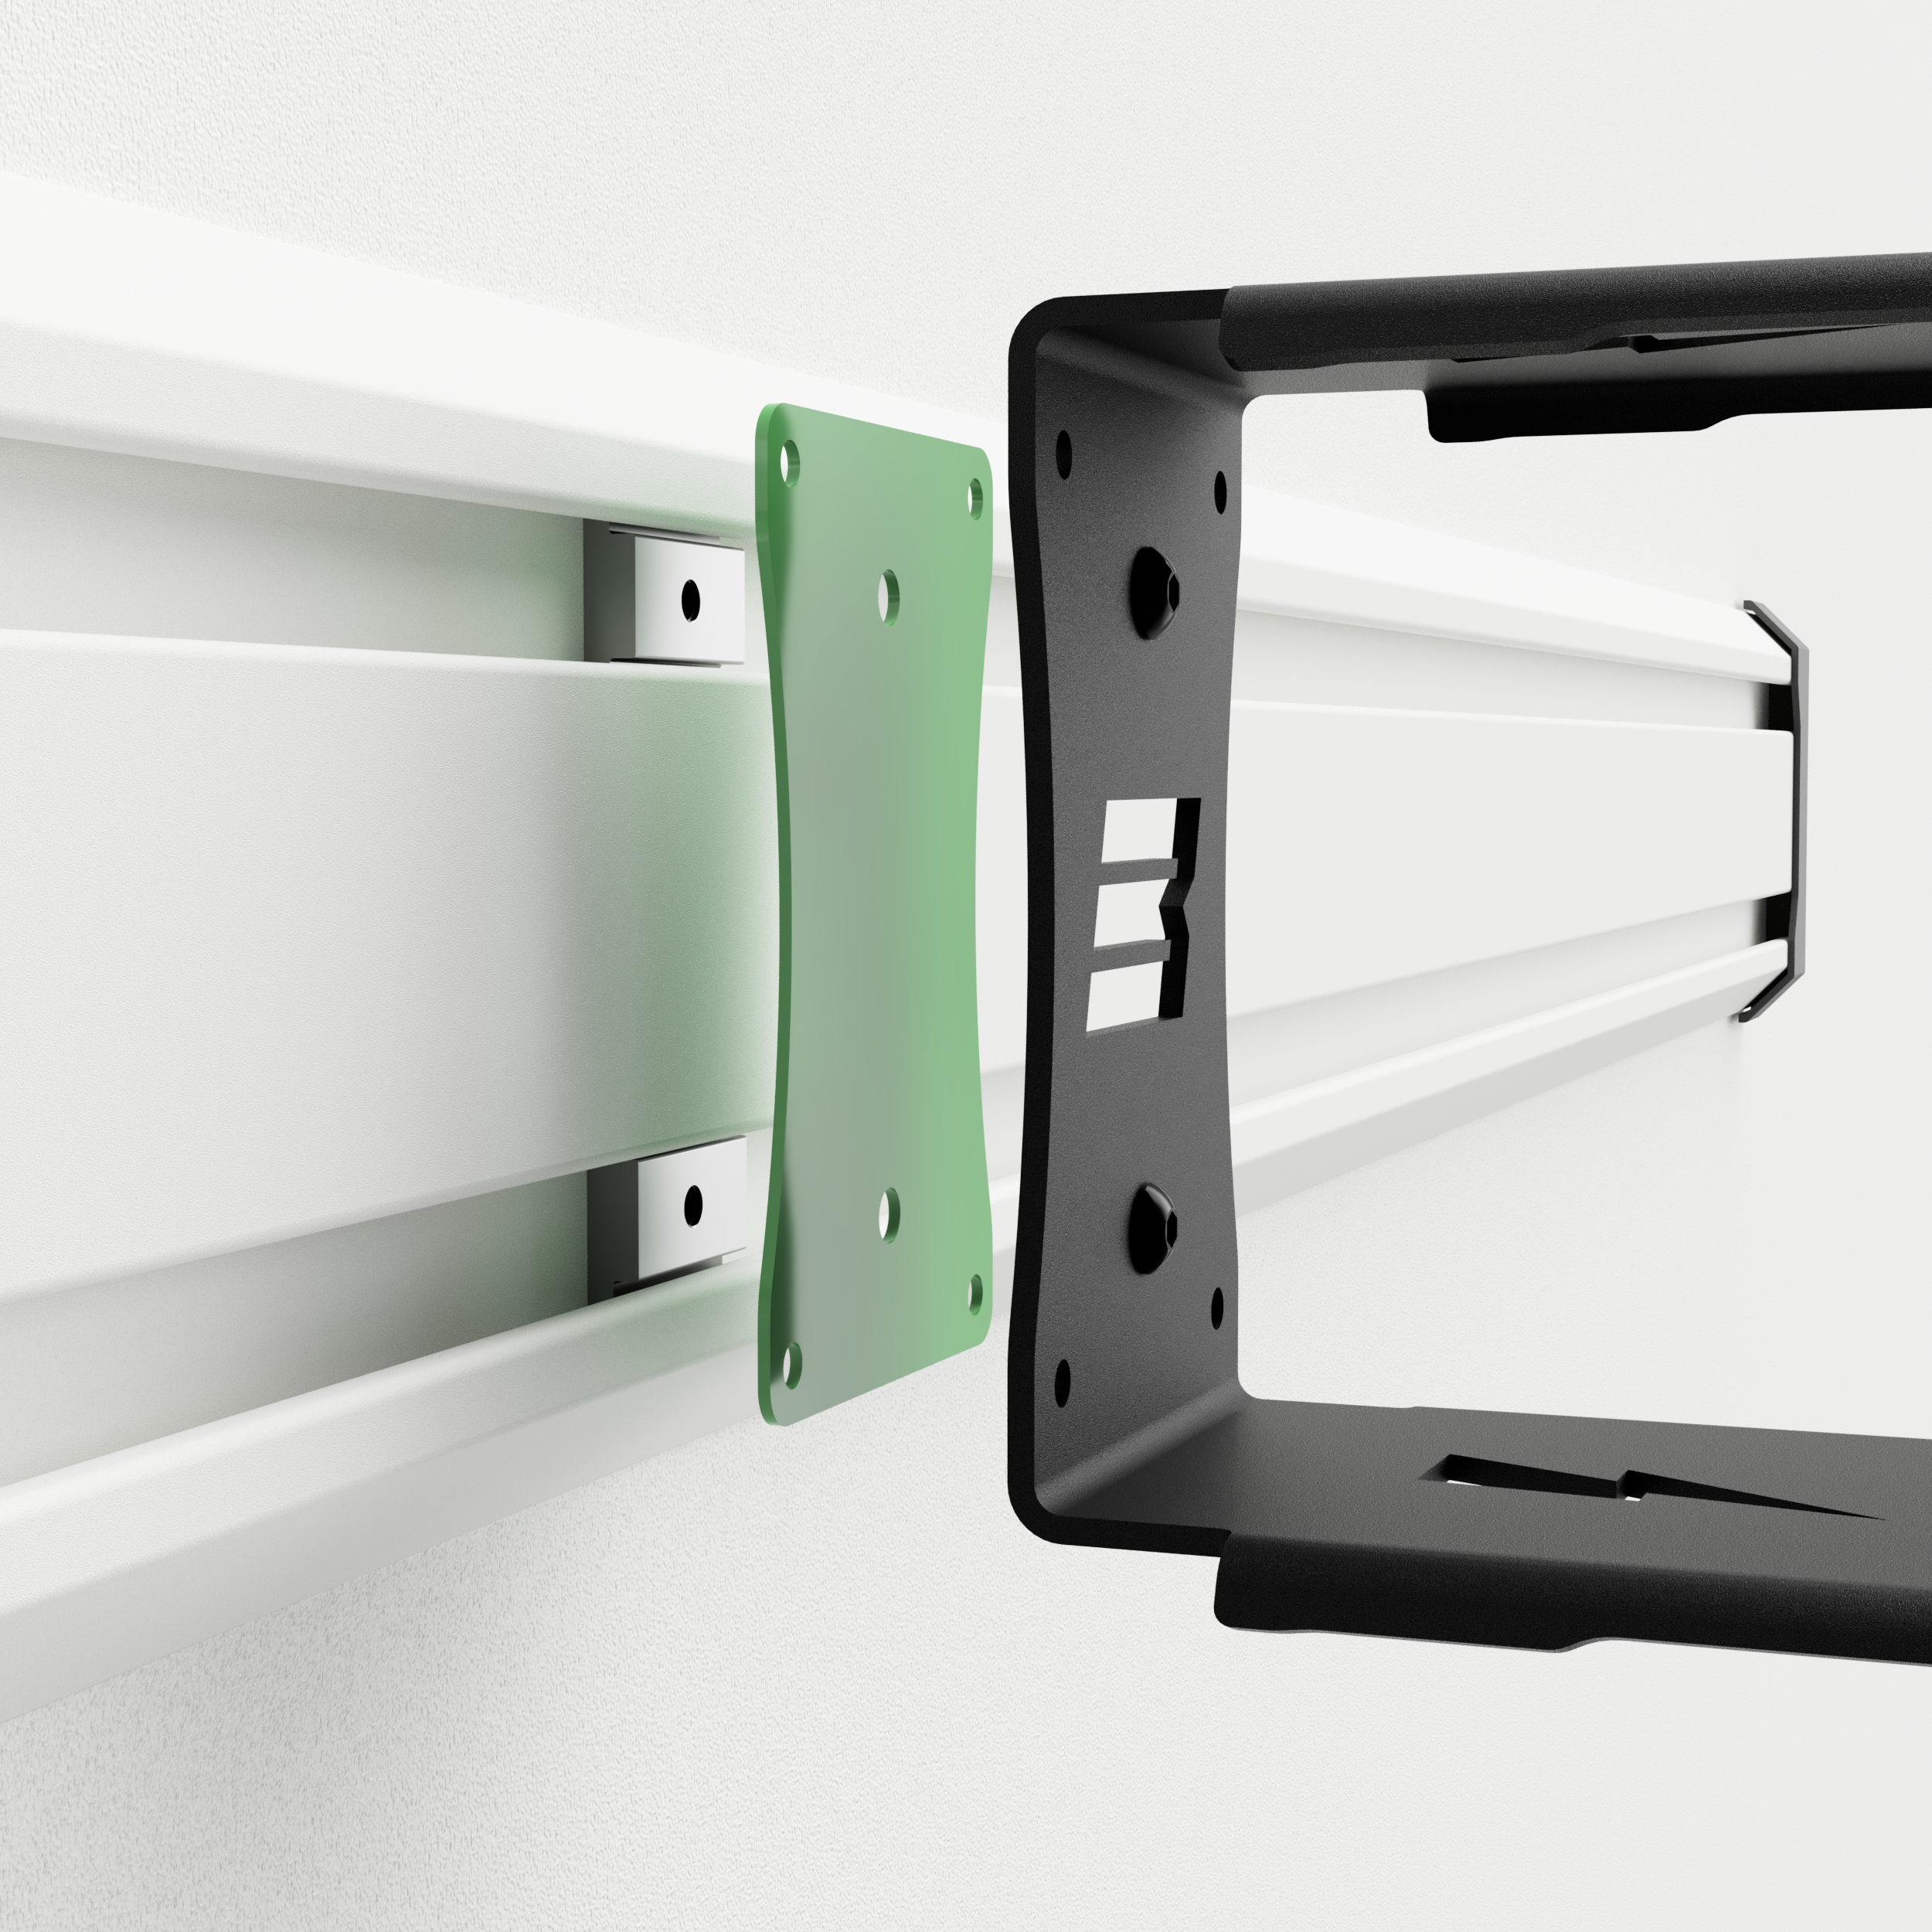
Colored logo backing plate.
Installation of the optional colored backing plate is simple. Place the plate between the mounting bracket and the Gladiator GearTrack™. The bolts used to secure the mounting bracket will also pass through the colored backing plate.
Step 4
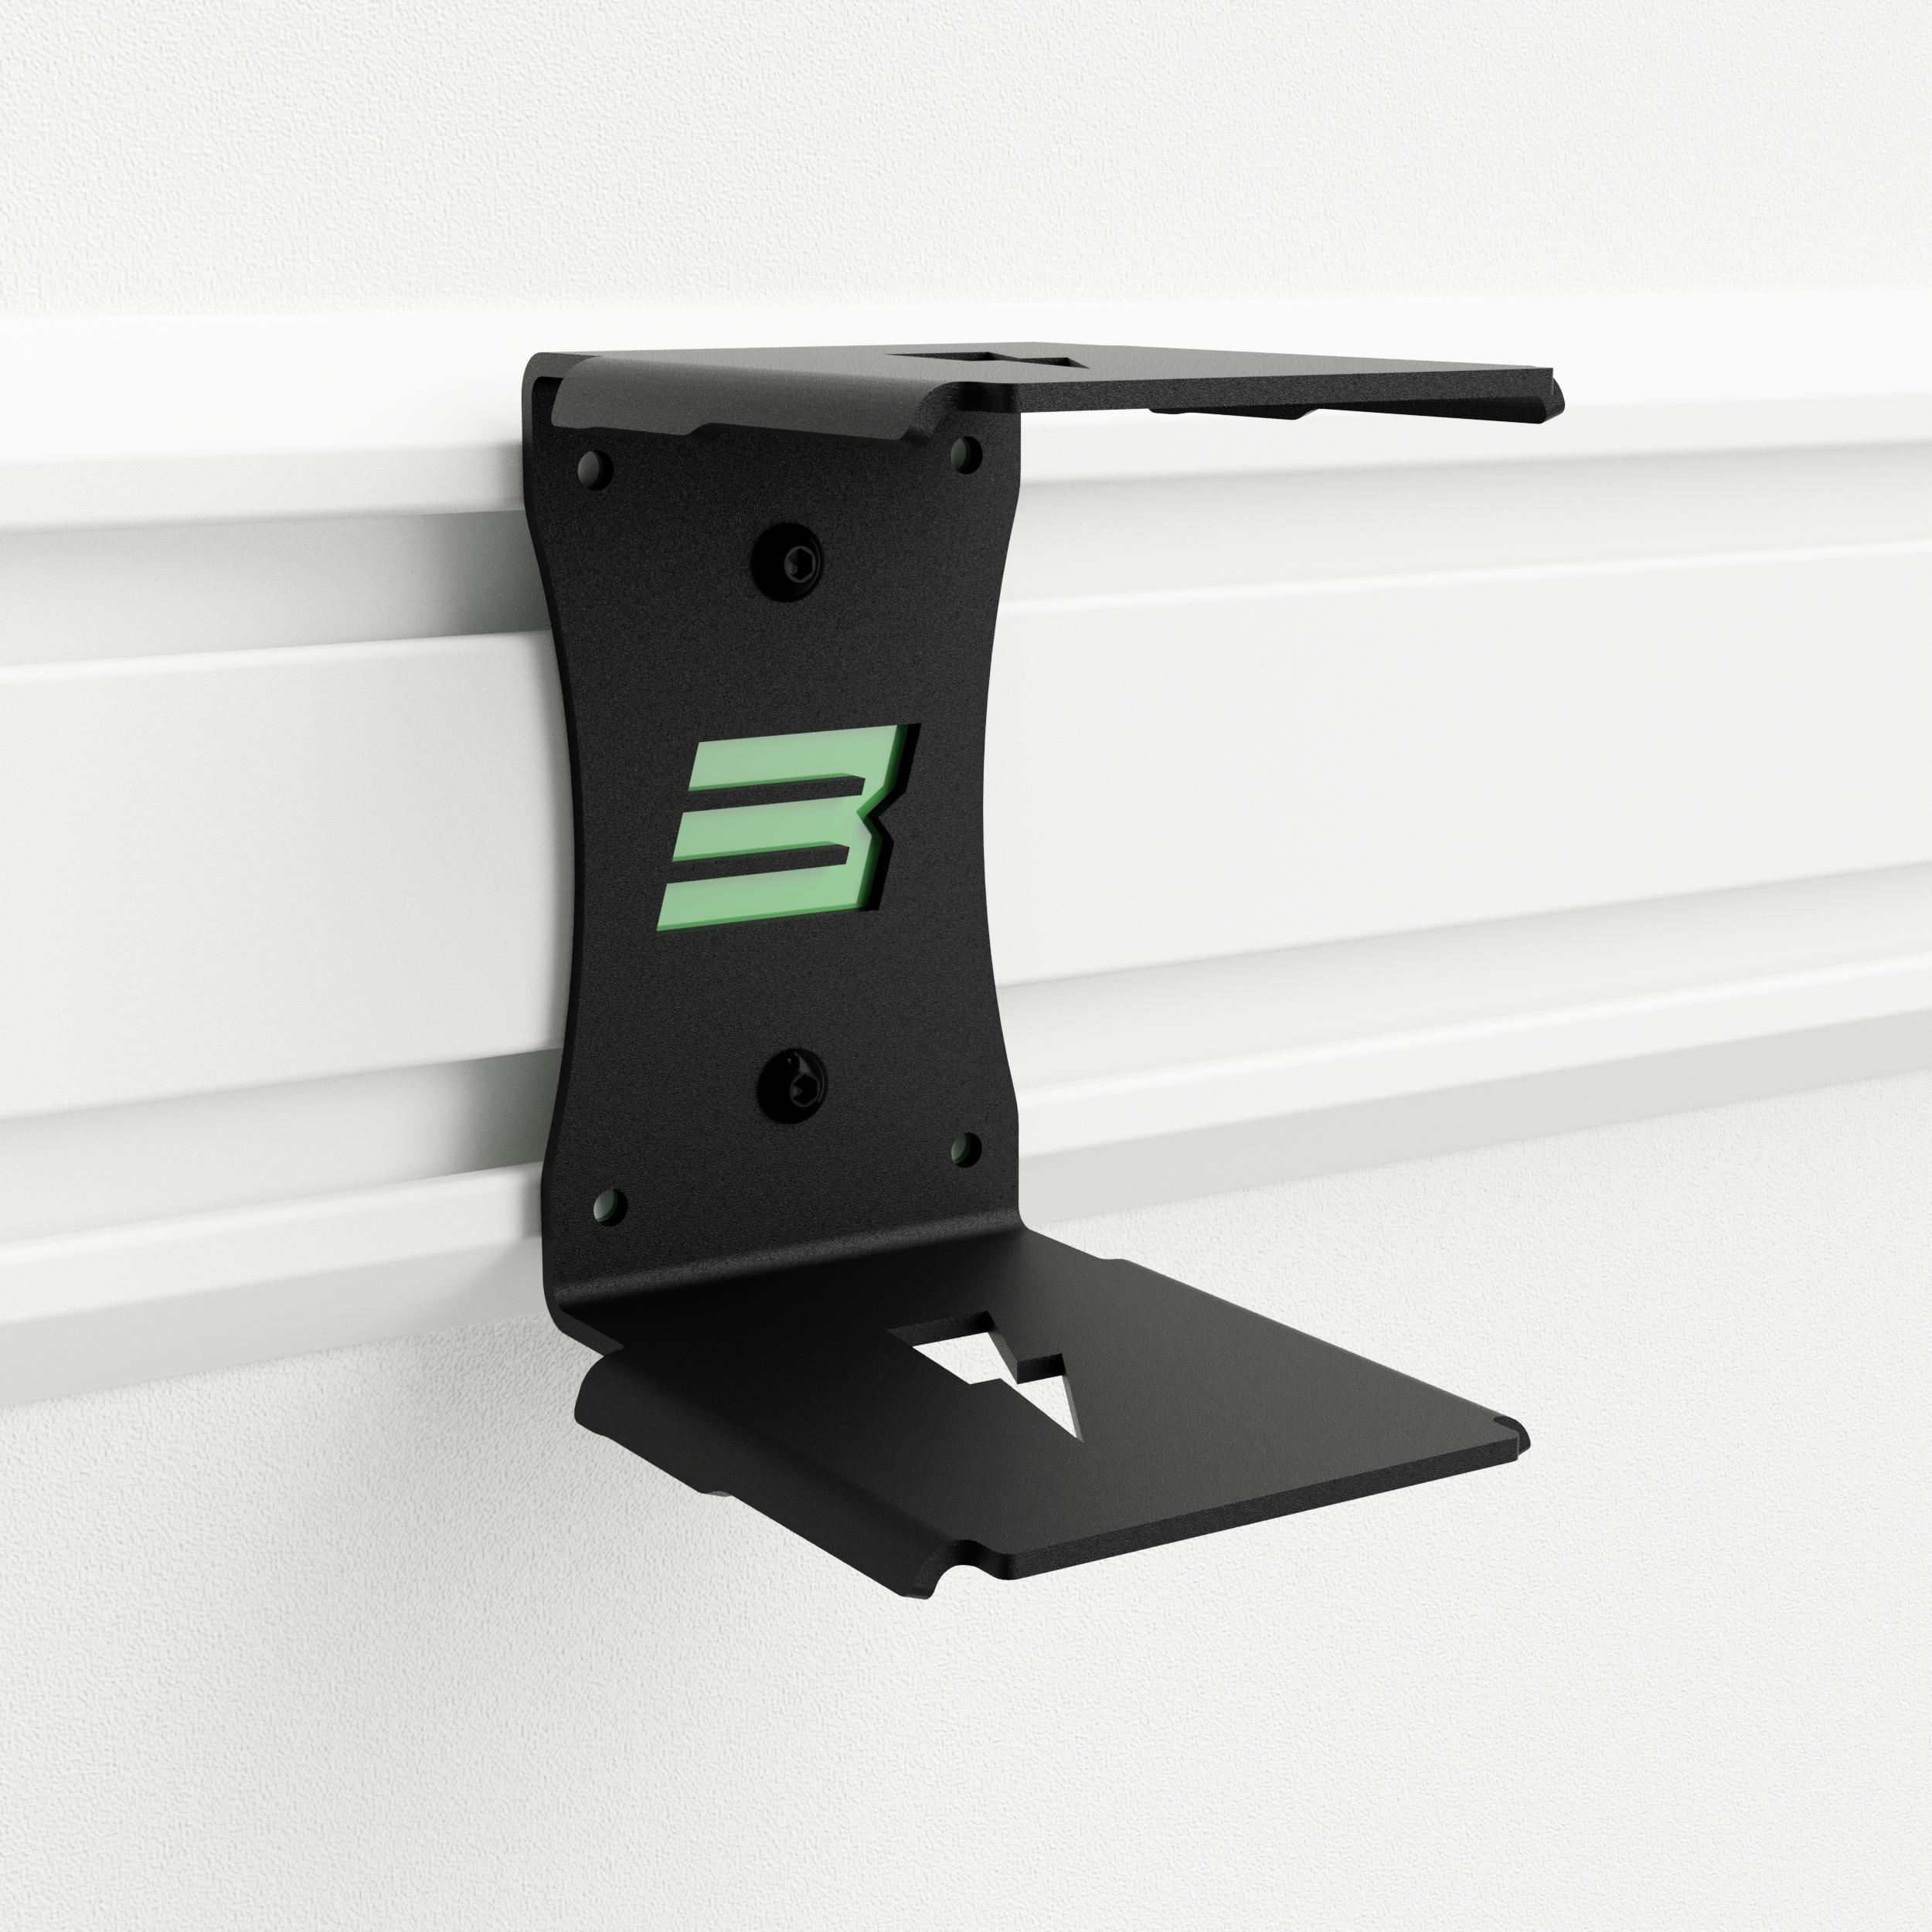
Tighten it down!
Now the easy part! Place the bracket onto the Gladiator GearTrack™ and use the bolts to secure it in place. The bolts can quickly be loosened and the bracket moved to a new position.
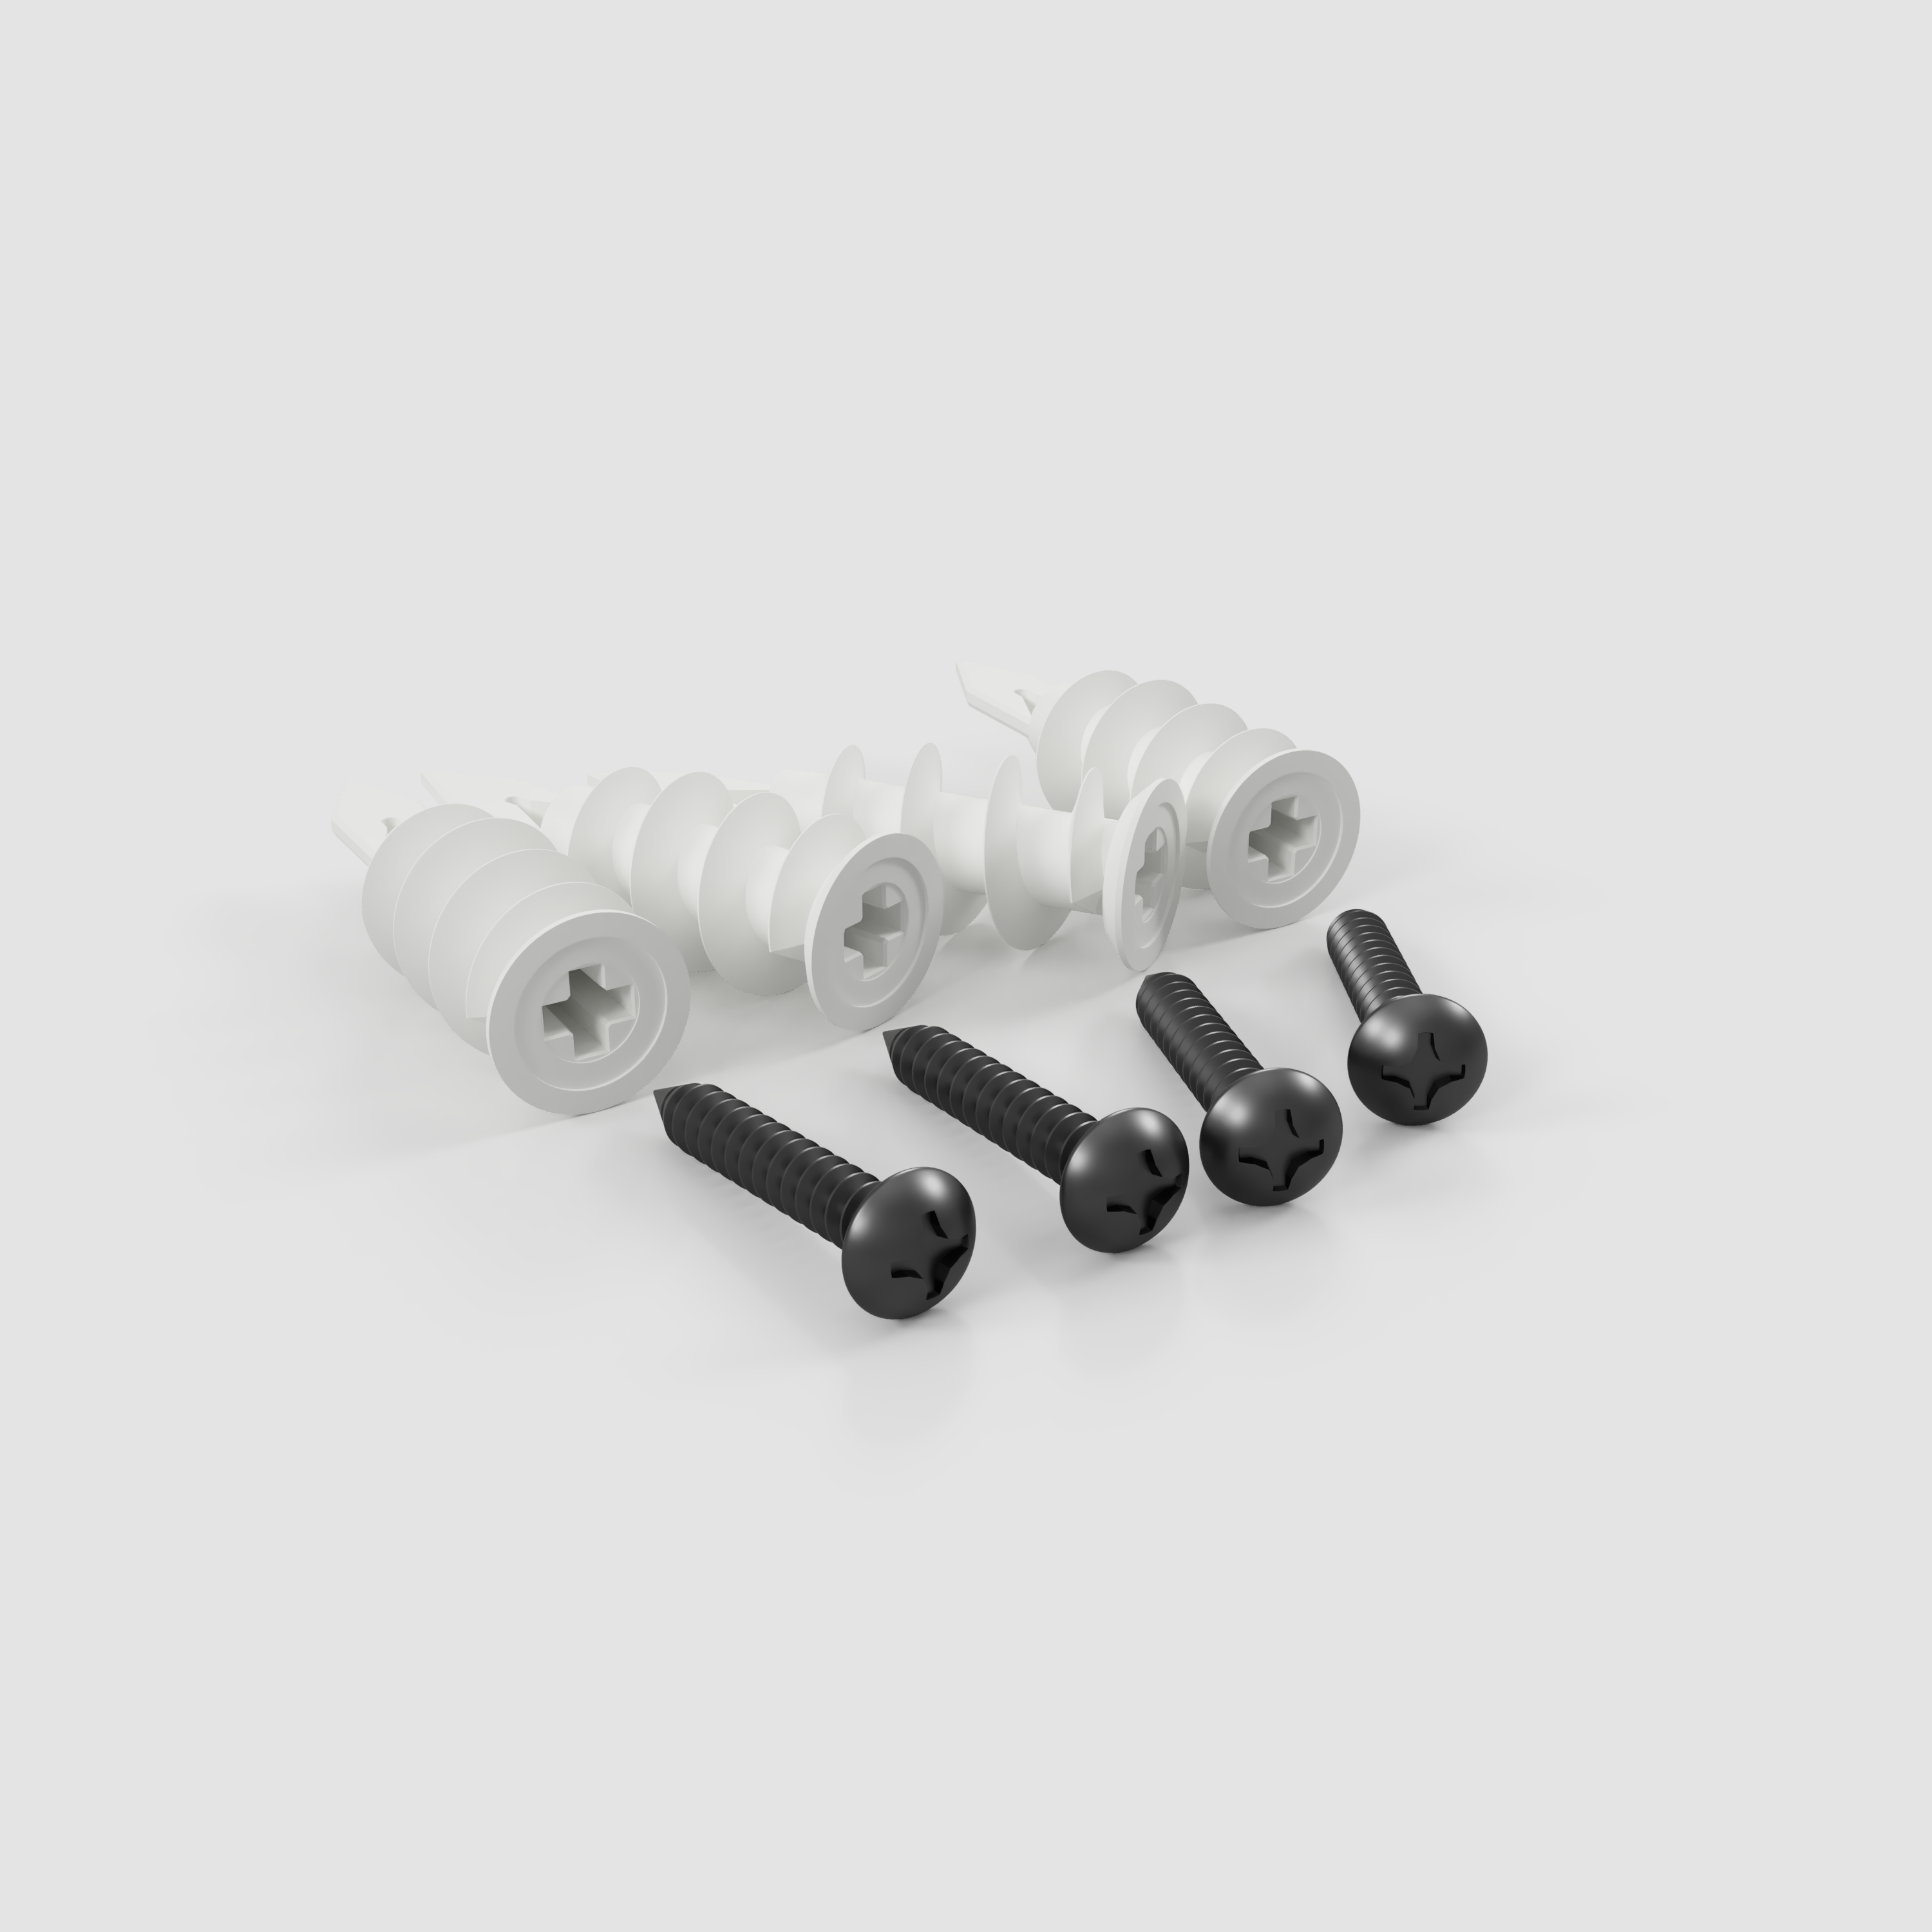
Drywall Anchors
Installation Guide.
This quick walkthrough explains how to properly install BennettBuilt brackets using drywall anchors.
This installation method has the lowest strength.
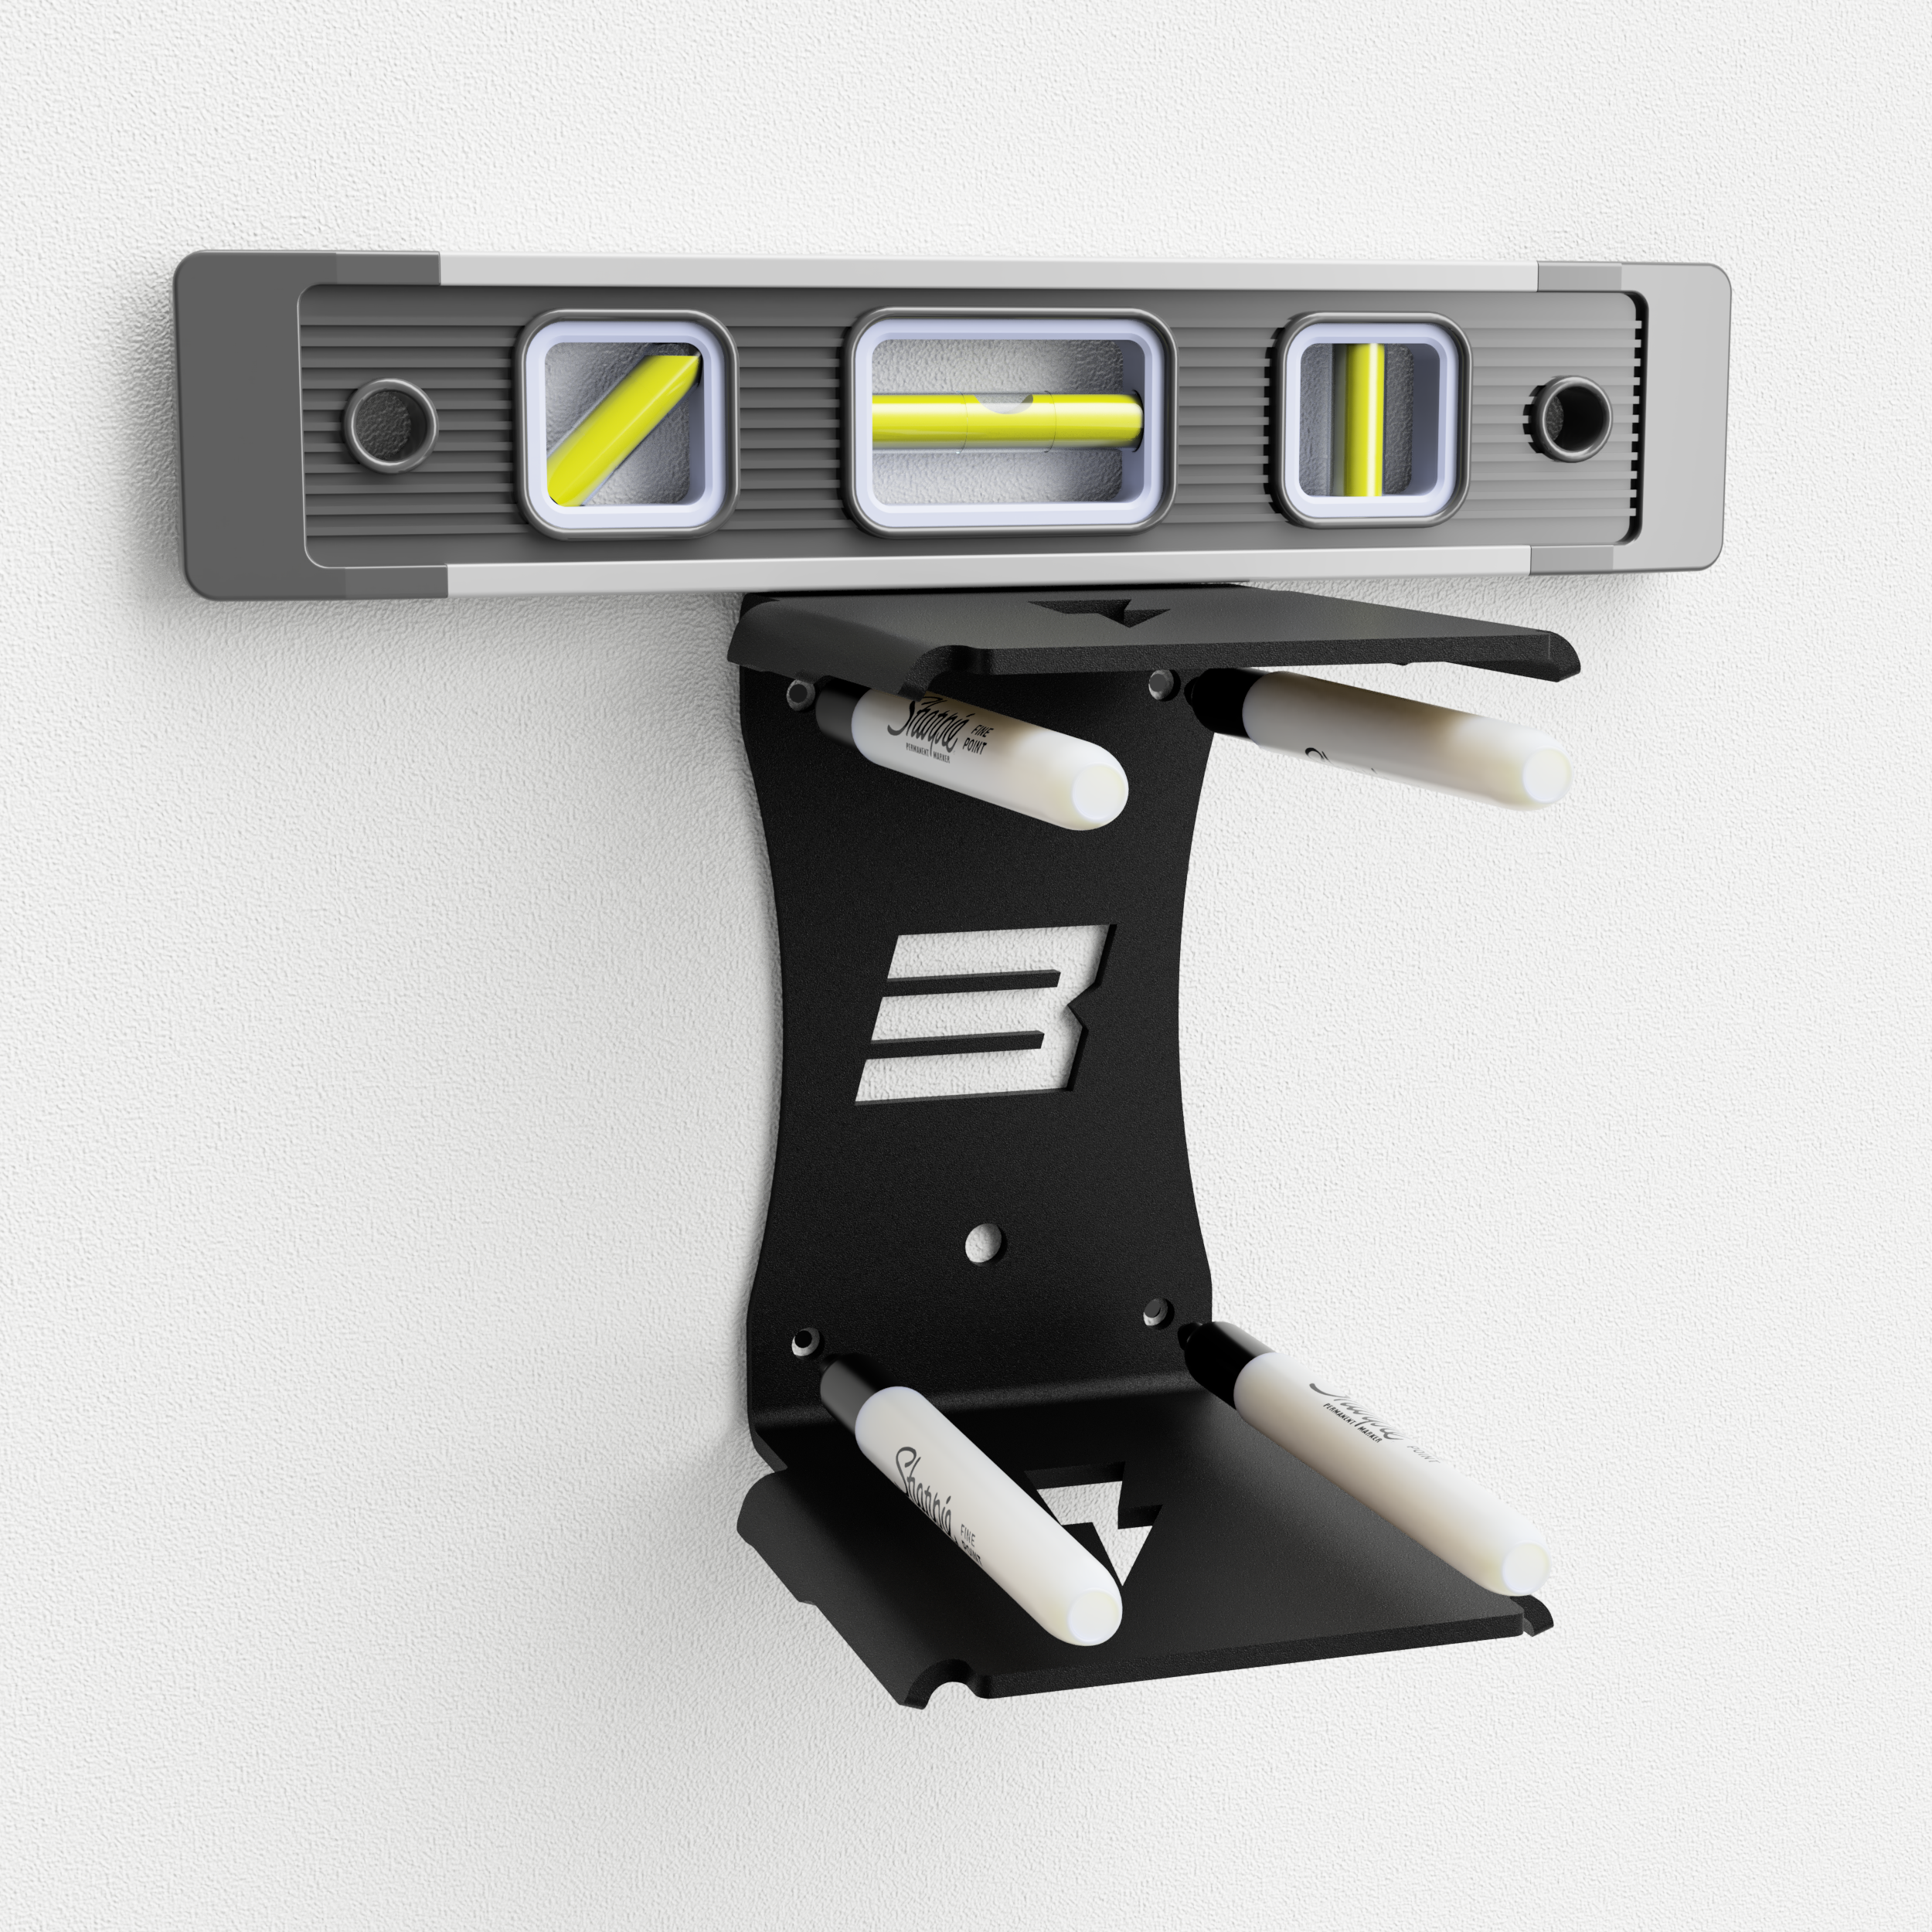
Step 1
Grab a level.
Hold the bracket on the wall in the location you would like to mount it, use a level to make sure the bracket is straight, then mark the 4 outer hole locations.

Step 2
Drill some holes!
Its best practice when installing bolts or screws to first drill a pilot hole. This not only allows an easier installation of the hardware but will also help minimize damage to the material that the screw or bolt will be going into.
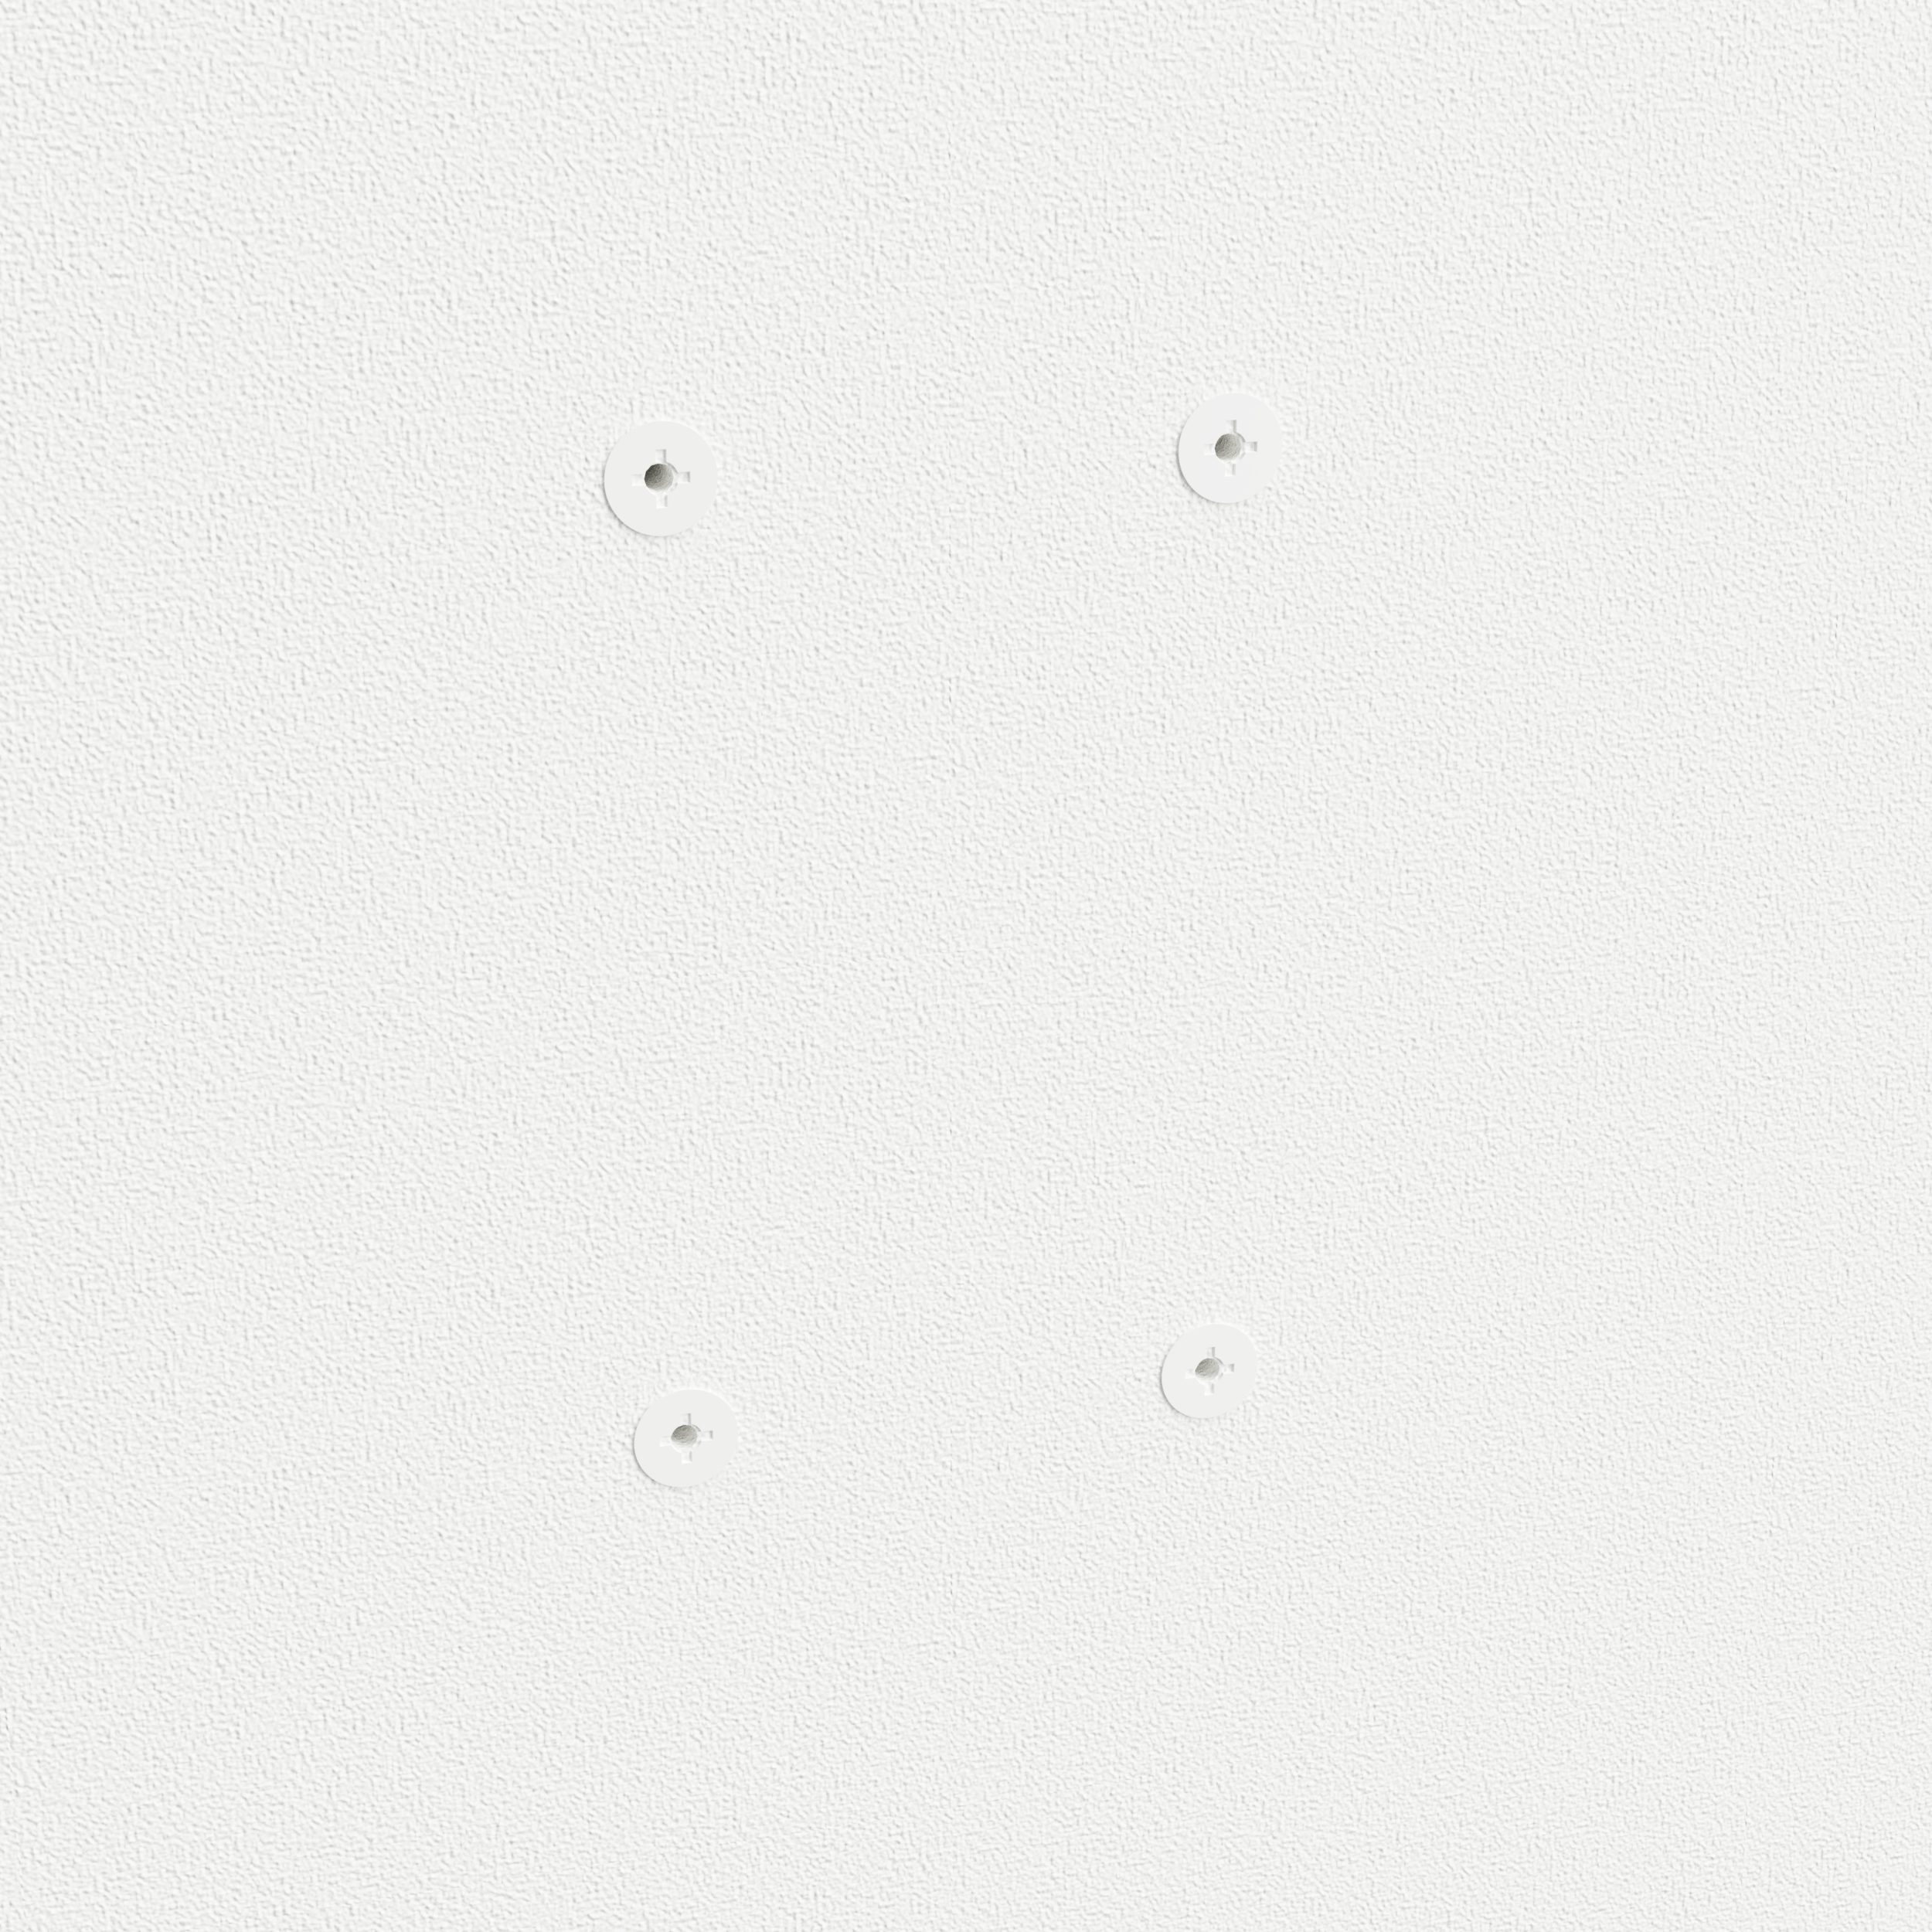
Step 3
Install the anchors.
Insert the anchors into the wall, depending on the drywall anchors you are using, proper installation will vary, some push in while others screw into the wall.
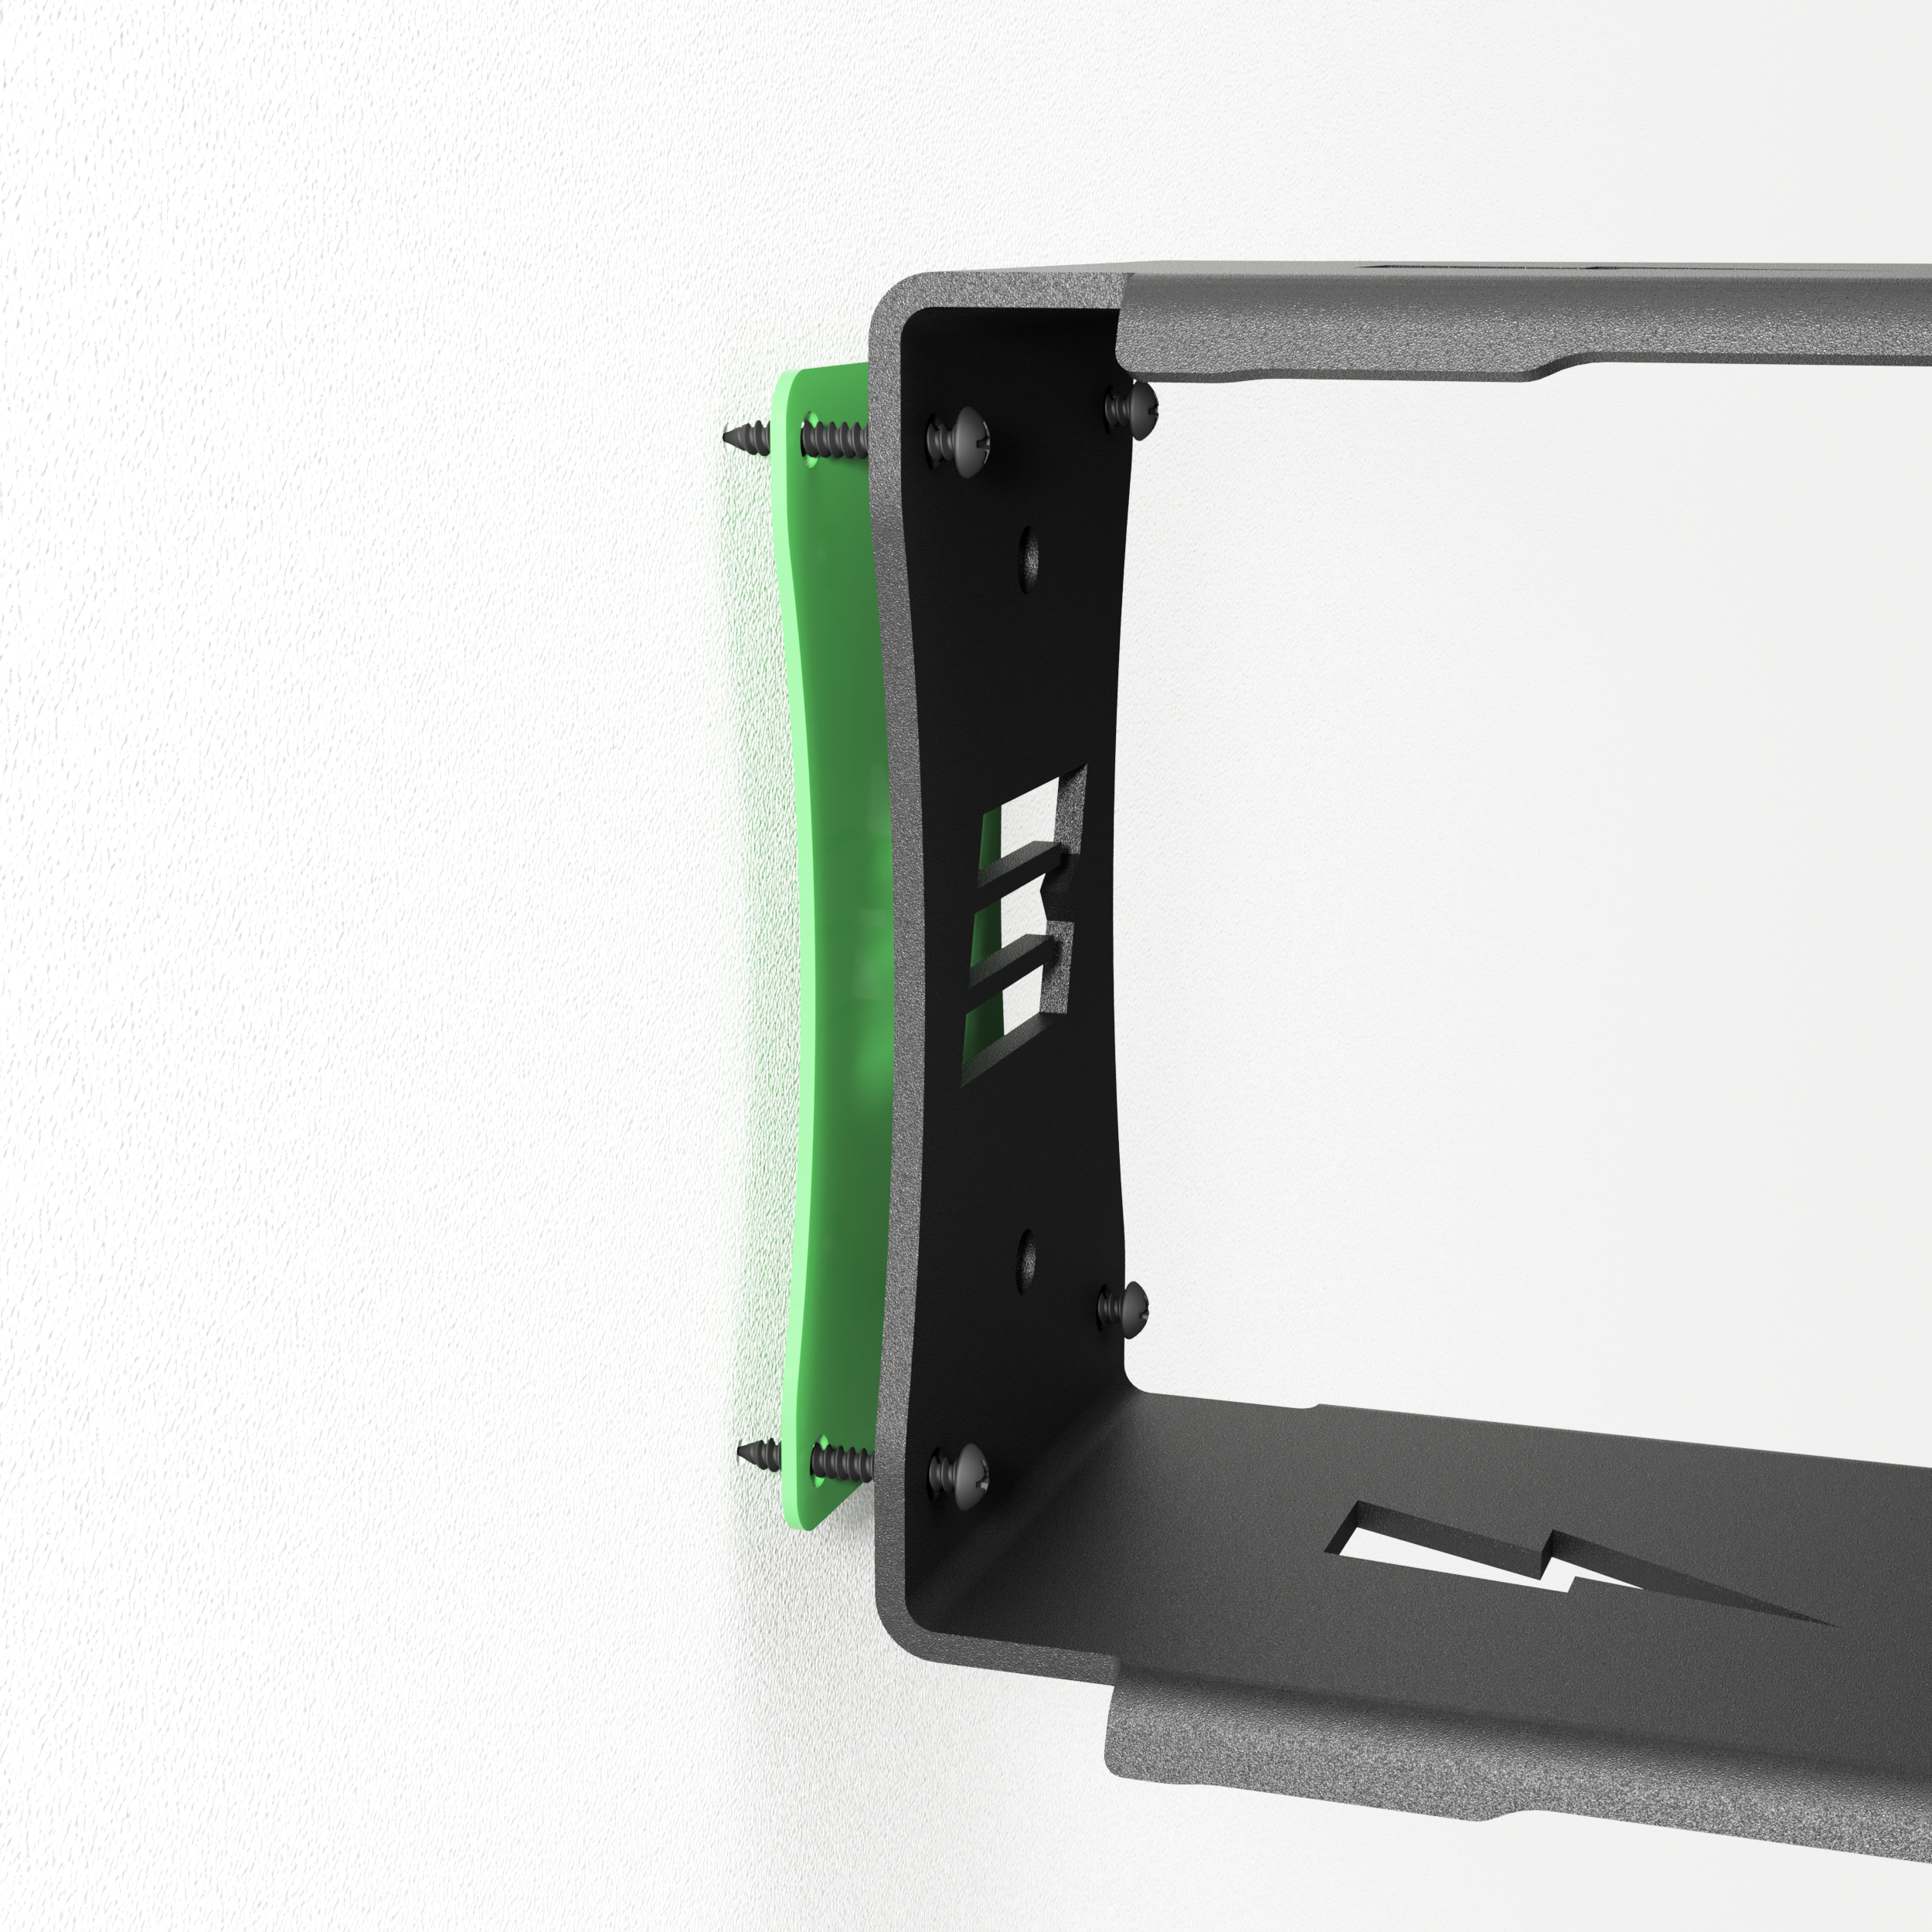
Optional
Colored logo backing plate.
Installation of the optional colored backing plate is simple. Place the plate between the mounting bracket and the wall. The bolts or screws used to secure the mounting bracket will also pass through the colored backing plate.
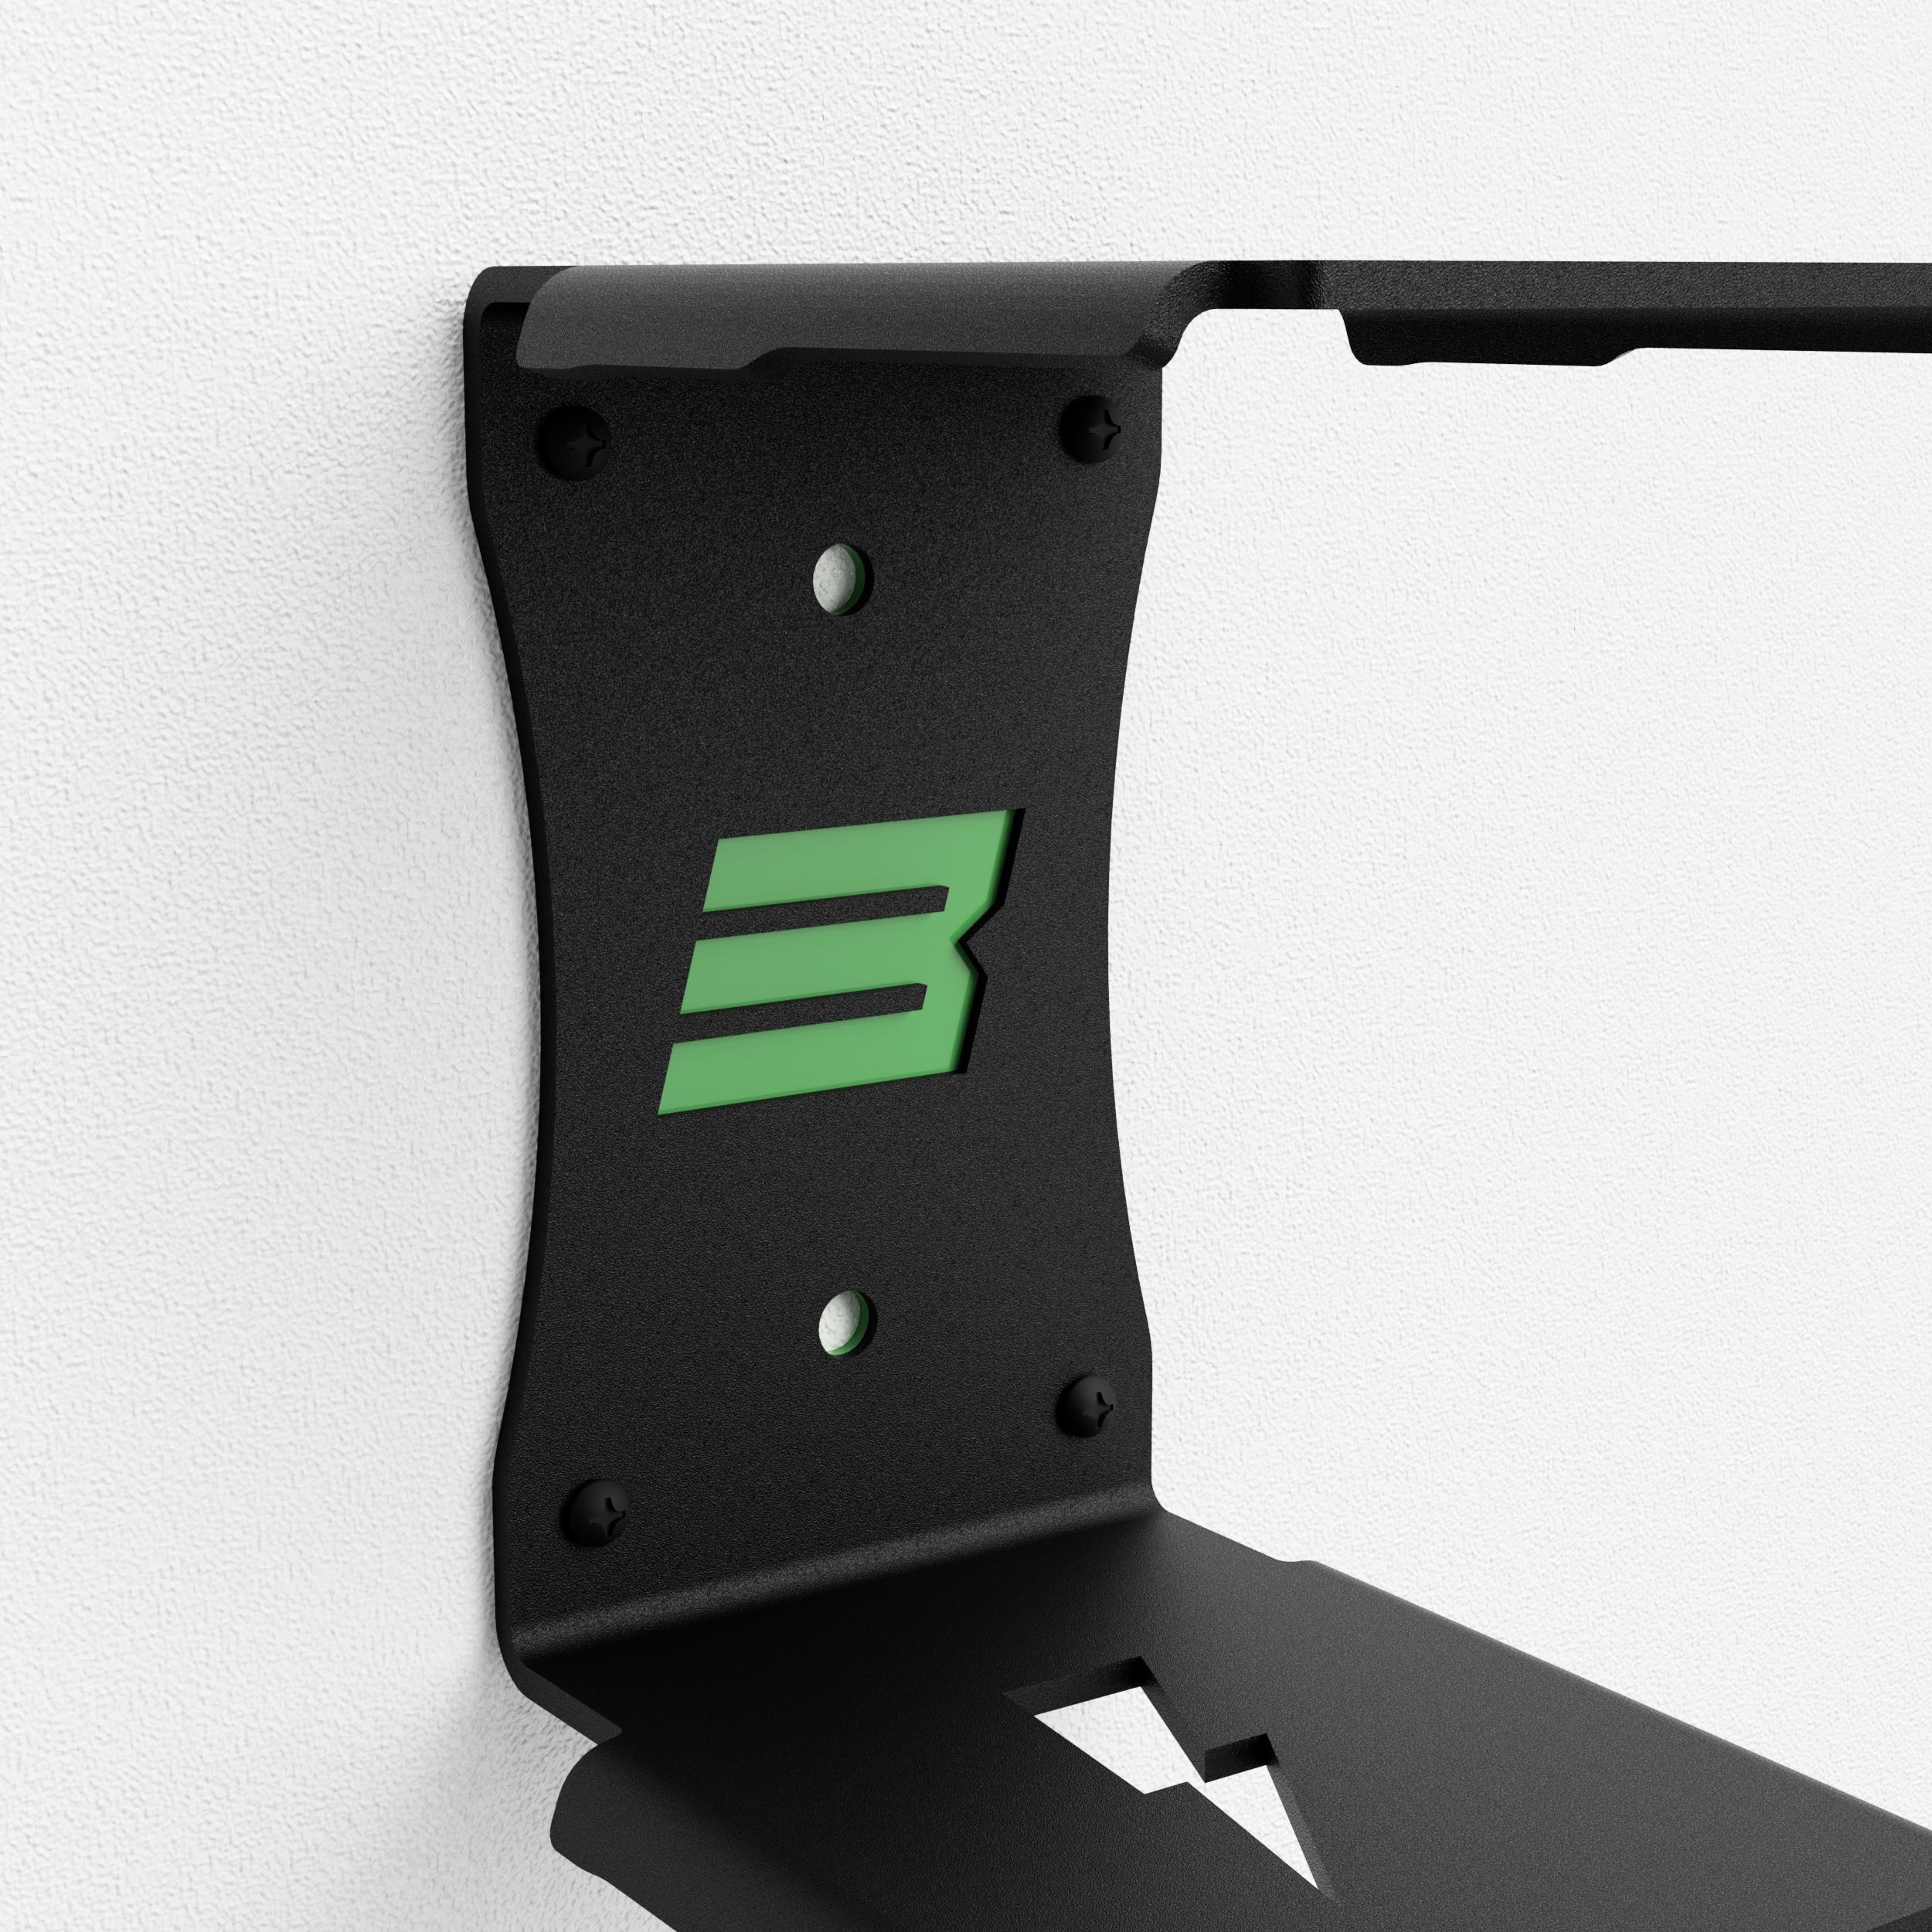
Step 4
Tighten it down!
Now the easy part! Place the bracket back onto the wall and use your hardware of choice to tighten the bracket to the wall.
Great work!
